| Decision | Starting value from tutorials | Planning use |
|---|---|---|
| Seam around main and lining pieces | 1/2 inch seam allowance | Use as the default for a lined mask and mark it with a seam gauge before you sew. |
| Lined mask cut sizes | 8.5 in square main fabric; two 4.75 x 8.5 in lining pieces | Cut these first, because every later seam depends on them. |
| Ties | Four ties, 18 in long (16 in is acceptable if fabric is short) | Cut all four to the same length before attaching any of them. |
| Pleat topstitching | 3.5 mm stitch length, about 3/8 inch from the fold | Lengthen the stitch for visible topstitching only. |
| Closing the turned opening | About 1/8 inch from the edge | Edge-stitch all the way around to close the gap and flatten the edge. |
| Fabric | Tightly woven cotton; stretch knits are not suitable | Decide this before you buy or cut anything. |
These figures come from the Confident Stitch face mask tutorial and the Cheshire Library photo tutorial, so treat them as pattern settings rather than universal rules.
Learning how to sew a face mask comes down to tightly woven cotton, a straight stitch and the seam allowance your pattern calls for, then turning, pressing and topstitching. A machine is faster; hand sewing follows the same steps, only slower.
If you are new to the machine itself, read sewing machine basics for mask making first, then return here for the project stages: construction choice, supplies, cutting, seams, ties and finishing.
Choosing a construction before you cut
Mask tutorials share the same core skills but package them differently. Pick the construction that fits the time you have and the skills you want to practise, because it decides how many pieces you cut and what you attach at the corners.
Two rectangles with elastic loops
Loganberry Handmade describes a fabric mask as basically two rectangle pieces of fabric sewn together with elastic attached for the ear loops, using cotton pieces that measure 6 in x 9 in. That makes it the lowest-risk first project: two pieces, one seam path and a single attachment decision. It suits anyone who wants a finished mask quickly and wants to practise straight seams before moving on to pleats or ties. Choose a different pattern if you prefer fabric ties, because elastic needs its own securing method.
Lined mask with fabric ties
The Confident Stitch tutorial pairs a main piece with two lining pieces and finishes with four ties. Because the layers are sewn together and then turned right side out through an opening, this version teaches turning, pressing and topstitching in one project. It suits makers who want to build those skills and do not mind extra steps. Its lining recommendation is high-quality quilting cotton, preferably solid.
Single folded piece with pleats
The Seattle Times video tutorial starts with one 7 in x 16 in piece of tightly woven fabric, pleats and pins the mask, then attaches elastic. There is less cutting, but the pleats ask for careful pinning and even topstitching. Save it for your second or third mask if straight seams still feel new.
Pleats are not the only way to give a mask its shape. Once a basic mask feels comfortable, the comparison in dart vs center seam face mask shows what changes when you shape the mask with a dart or a center seam instead.
Supplies and fabric for beginners
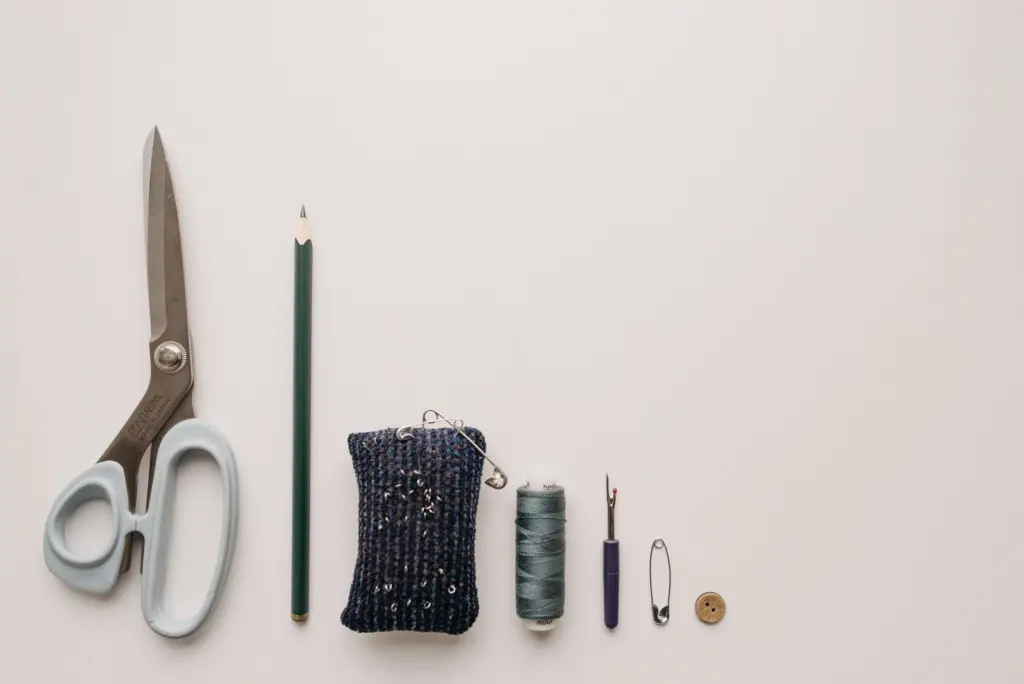
A beginner needs a sewing machine or a needle and thread, something to cut with, a way to hold the layers together, an iron and a marker. Everything else is an upgrade you can add later.
- Machine and thread. The Confident Stitch equipment list begins with a sewing machine and thread. For hand work, a needle and thread replace the machine and the rest of the kit stays the same.
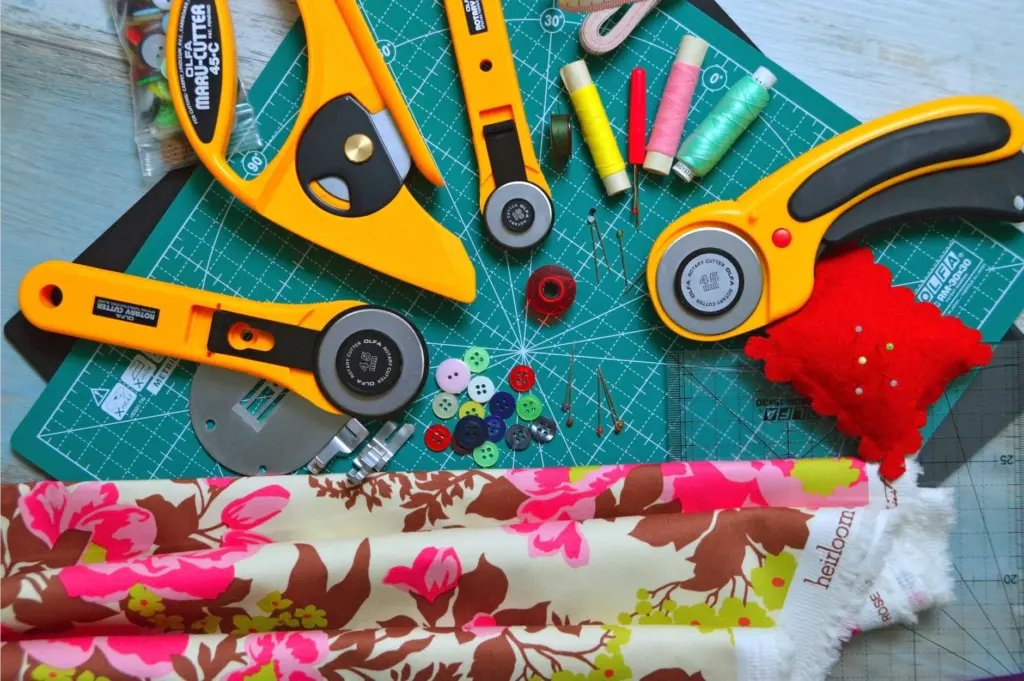
- Cutting tools. Scissors and a ruler appear on the Confident Stitch list, while Loganberry Handmade adds a cutting mat, rotary cutter and acrylic ruler. Scissors and a ruler are enough to start. The rotary set earns its cost once you cut several masks or long strips for ties.
- Holding layers. Both lists include pins and Wonder Clips. If you cannot decide between them, sewing clips vs pins sets out when each one suits a small, layered project.
- Pressing and marking. An iron, fabric marker and seam gauge are all on the Confident Stitch list. Pressing is part of the method, because the tutorial presses seam allowances open and presses again after tucking raw edges under.
Fabric that works
The Cheshire Library tutorial asks for tightly woven cotton and rules out stretch leggings and T-shirts. Follow that rule, since stretchy knits shift under the needle and distort the cut size. For the lining, the Confident Stitch pattern specifies high-quality quilting cotton. If you want a mask with more body, read interfacing for face mask before adding any extra layer.
Match the machine needle to woven cotton and keep your machine manual nearby. It lists the needles and stitch lengths your particular model accepts, which is more reliable than a general number.
Cutting fabric accurately
Accurate cutting matters more than any sewing setting, because a mask cut with crooked edges will have crooked seams. A rotary cutter, a cutting mat and an acrylic ruler let you cut straight edges against a guide, and scissors with a marked line work if you take your time.
The two patterns below show how much cut sizes differ between approaches. Use one set of dimensions for the whole project, and do not mix pieces from different tutorials.
| Pattern | Fabric to cut | Attachments | Planning use |
|---|---|---|---|
| Lined mask with ties (Confident Stitch) | 8.5 in square main fabric; two 4.75 x 8.5 in lining pieces | Four ties, 18 in long | Best for practising a lined, turned seam with a 1/2 inch allowance. |
| Folded single piece (Seattle Times) | 7 in x 16 in tightly woven fabric | 8 in pieces of elastic, one end tucked into a corner and sewn | Fewer pieces to cut, but pleating needs careful pinning. |
Dimensions come from the Confident Stitch tutorial and the Seattle Times video tutorial.
Other simple patterns use different sizes again. The Cheshire Library tutorial cuts its fabric to 9 1/2 by 6 1/2 inches, and Loganberry Handmade cuts cotton pieces of 6 in x 9 in. Follow the measurements of whichever pattern you choose exactly. For prewashing, grain and marking before you cut, see how to cut fabric for face masks.
Sewing a mask on a sewing machine
To sew a face mask on a sewing machine, layer the pieces, sew around the edge with a straight stitch and the pattern’s seam allowance, leave an opening, then turn, press and topstitch. The order below matches the lined patterns described by the Confident Stitch and Cheshire Library tutorials.
- Cut every piece to the size your pattern gives and mark the seam line with a seam gauge.
- Place the layers right sides together and hold them with pins or Wonder Clips.
- Sew around the edge with a straight stitch, keeping the seam allowance even, and leave a gap for turning.
- Trim the triangles off the corners to reduce bulk.
- Turn the mask through the gap and flatten the corners.
- Press, tuck the raw edges of the gap under and topstitch to close it.
Straight stitch and stitch length
A straight stitch is the only stitch a basic mask seam needs, and it is what the Confident Stitch tutorial uses throughout. The same tutorial tells you to increase the stitch length to 3.5 mm before topstitching the pleats. Read that as a topstitching setting, not a universal cotton setting: the instruction to increase implies that the construction seams are sewn at a shorter length. Test on a scrap of your actual fabric, and check your manual for the range your model offers. The page on sewing machine settings for face masks goes through tension, stitch length and needle choice in more detail.
Seam allowance
The Confident Stitch pattern sews all the way around the square with a 1/2 inch seam allowance. Seam allowance is the distance between the stitch line and the cut edge, and it is the number to keep identical on every side. If your pattern gives a different allowance, use that one, since its cut sizes were calculated for it. A seam gauge makes the distance easy to check on the fabric before you commit to a line of stitching.
Working through several layers
A lined mask has several layers meeting at the corners and at the ties, so the fabric can creep or pucker. Pin or clip generously and sew slowly across thick junctions. The techniques in how to sew multiple layers of fabric cover feed problems and thick corners in more depth.
Turning, pressing and closing the opening
Turning is where a flat sewn shape becomes a mask, and trimming the corners first makes it easier. The Confident Stitch tutorial trims the triangles at the corners to reduce bulk, and the Cheshire Library tutorial turns the mask inside out through the opening so all the ties come free.
Once the mask is through, flatten the corners with a blunt tool or your fingers and press the edges. If the lining has a gap, the Confident Stitch method presses the seam allowances open, tucks the raw edges under and presses again before topstitching. Stitch about 1/8 inch from the edge all the way around, as the Cheshire tutorial does, so the closure and the edge finish happen in a single pass. The finer points of clipping, pressing and turning are covered in how to turn a mask right side out.
Sewing a mask by hand
You can make a mask without a machine. The Cheshire Library tutorial notes that without a machine it will take longer, but the steps are the same. Hand sewing is therefore a matter of pacing, not a different project.
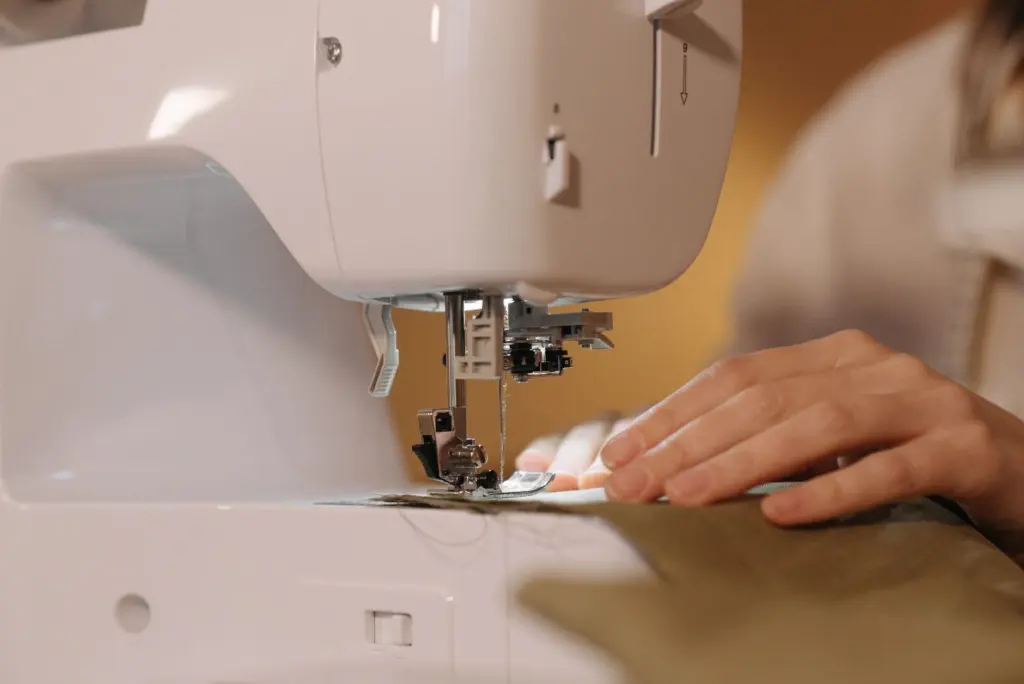
Choose a pattern with few seams, such as two rectangles, rather than a pleated design, because every extra line of topstitching is more time with a needle. Use these habits to keep the result tidy:
- Mark the seam line. A ruler and fabric marker from the standard equipment list give your stitches a line to follow.
- Hold the layers. Pins or clips keep the pieces aligned while your hands are busy with the needle.
- Keep stitches even and secure. Ties or ear loops pull on the seams, so finish each seam firmly at both ends.
- Close the gap neatly. Tuck the raw edges under and stitch the opening shut. This is a tiny hem, and how to sew a narrow hem explains the folding.
Hand sewing suits makers who enjoy a slower pace or have no machine available. If you plan to make many masks, a machine repays the learning curve quickly, but a hand-sewn first mask teaches exactly the same sequence.
Stitch types and edge finishes
For a turned mask, you need a straight stitch for the seams and a straight stitch for topstitching, and nothing more. The seam allowances end up enclosed inside the mask, so no raw edge needs finishing.
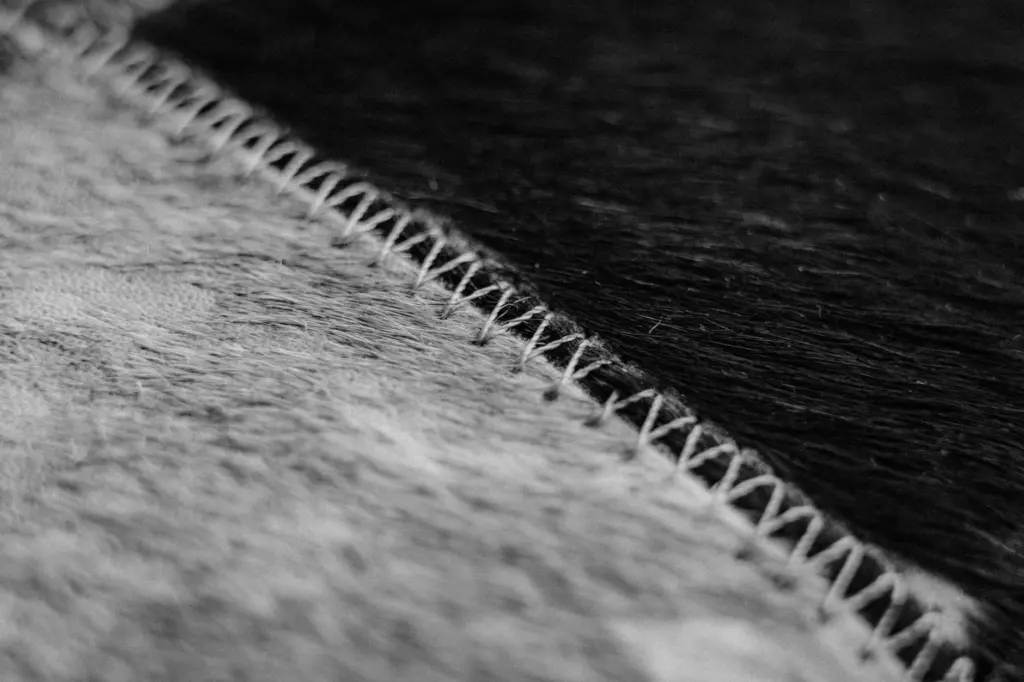
Topstitching
Topstitching is a visible line of stitching sewn on the right side, and it does two jobs in a mask: it holds the turned edge flat and it closes the opening. Sew it slowly and keep the distance from the edge even. The tutorials in this guide give specific distances for the edge and for pleats, and these appear in the sections on turning and on pleats.
Zigzag and serger finishes
Zigzag and serger finishes matter when a raw edge stays exposed, for example on a pattern that is not turned. A zigzag works on a standard machine, while an overlock (serger) machine finishes the edge differently and needs separate equipment. The comparison in serger vs zigzag stitch helps you decide which is worth it for small projects.
Decorating a panel
Decoration is a separate skill from construction, and it is usually simpler to practise on a plain mask before adding it to a finished one. When you are ready, how to embroider a face mask covers adding stitched designs.
Ties, bias tape and elastic
Ties and elastic are the two main ways to hold a mask on. Fabric ties suit makers who want to use scraps, and elastic suits makers who want the quickest attachment. Both are described in the tutorials used here.
Sewing bias tape ties
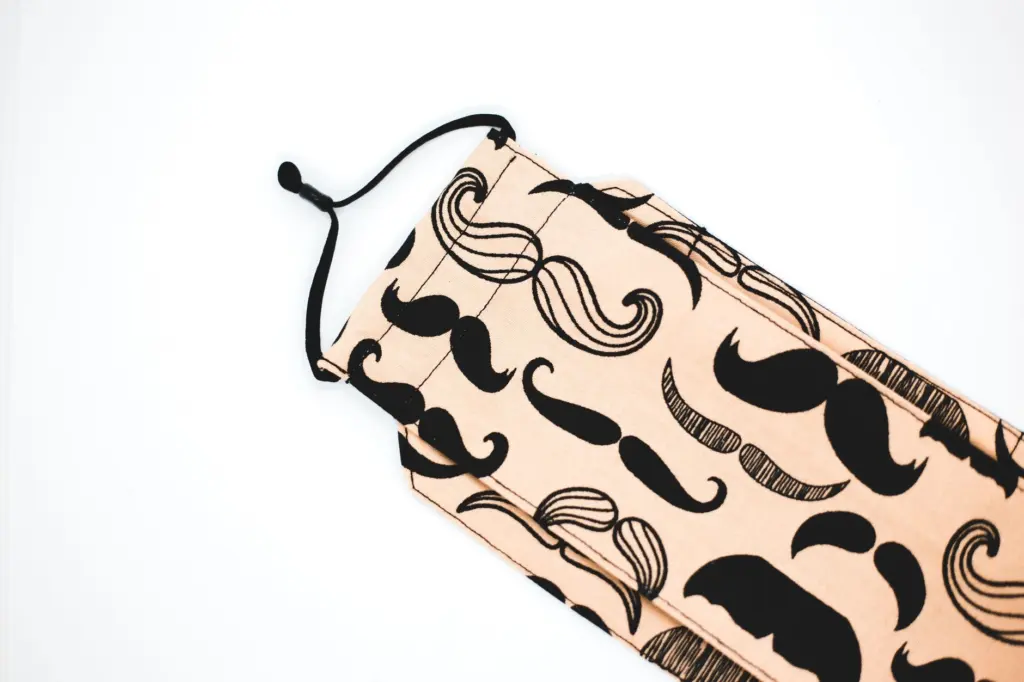
To sew bias tape ties, start with bias strips or ready-made tape. The Confident Stitch tutorial suggests cutting 1 1/2 in bias strips from quilting cotton and cutting them into 18 in lengths. If you use single-fold bias tape, fold it in half lengthwise again and press it into a long tube. Then topstitch each tie along the long edge so it becomes a closed tube. The mask itself needs four ties. For a full walkthrough of the tie method, see how to make fabric ties for a face mask. If you want tape wrapped around the mask edge instead, how to bind a face mask with bias tape covers binding.
Elastic ear loops
The Seattle Times tutorial tucks one end of an 8 in piece of elastic into a corner and sews it in place. The tucked end is the weak point, so sew it securely. The method for placing and reinforcing elastic is covered in how to sew elastic onto a face mask.
Which attachment to choose
- Fabric ties. Choose these if you are already sewing with a lined pattern and want a use for strips of quilting cotton. They cost more sewing time than elastic.
- Bias tape ties. Choose these if you want ready-made tape, as long as you fold single-fold tape into a tube before topstitching.
- Elastic. Choose this for the fastest finish on a two-rectangle or folded mask, and sew the tucked end securely.
Pleats and fit
Pleats shape a flat rectangle into a mask. The Seattle Times tutorial pleats and pins the mask before stitching close to the edge, and its seams sit about 1 1/2 in from each side. Pinning matters because pleats slip easily once the fabric is under the presser foot.
For the topstitching, the Confident Stitch tutorial stitches the pleats in place at approximately 3/8 inch, backstitching at the beginning and the end. The Cheshire Library tutorial suggests about a pinky’s width from the edge and stitching a second time. The two methods give similar results, so choose the one that matches the rest of your pattern. Step-by-step pleating, including how to keep folds even, is in how to sew pleats in a face mask.
Frequently asked questions
Do I need a walking foot to sew a mask?
No. The Confident Stitch author found the dual-feed function on her machine, or a walking foot, helpful but not crucial, so a standard presser foot will do the job.
Are shorter ties acceptable?
Yes, if fabric is short. The Cheshire Library tutorial calls for four ties 18 in long and accepts 16 in when you are short of fabric.
Should I backstitch when topstitching?
Yes. The Confident Stitch tutorial backstitches at the beginning and the end of the pleat topstitching so the stitches do not pull out.
How tall should the finished mask be?
The Seattle Times tutorial says the completed mask should measure between 4 in and 4 1/4 in from top to bottom, so check the height before you topstitch the edge.