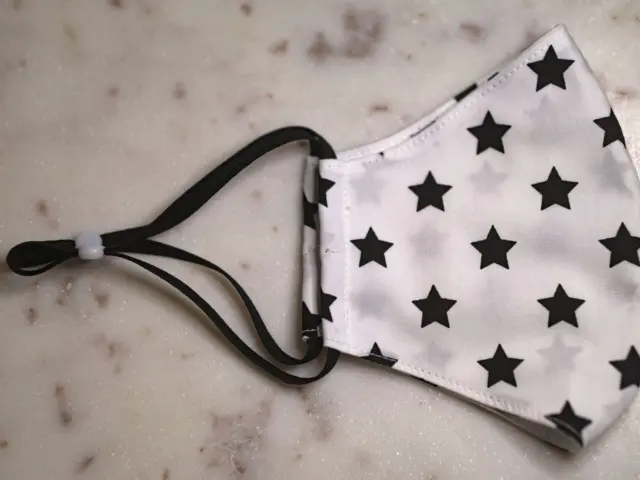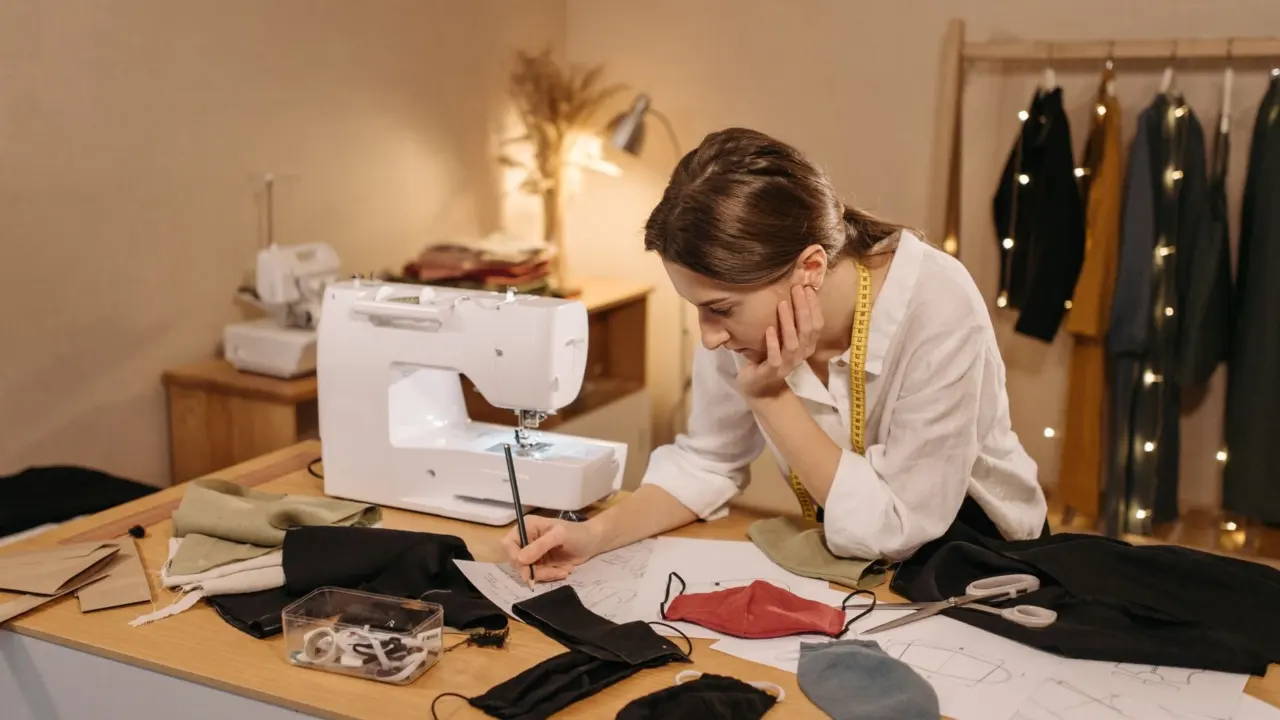
A mask edge that frays or will not lie flat can be finished cleanly once you know how to bind a face mask with bias tape: wrap double-fold tape over the raw edge, then stitch it down.
Quick answer: Pin double-fold tape along the mask edge, stitch along its first fold to hold it, then wrap it over the edge and stitch about 1/8 inch from the folded edge, as shown in Closet Core’s double-fold tutorial. Double-fold tape needs no seam allowance of its own, according to Melly Sews. Start with ready-made tape, and make your own only if the width you want is not on the shelf.
Binding is one finish among the wider set of techniques in how to sew a face mask. This guide moves from the simplest approach to the extra steps for corners, ties and homemade tape.
Materials and starting point
Bias tape is fabric cut on the bias grain, with its raw edges folded to the wrong side, as Melly Sews explains. Because it is cut on the bias, it can stretch a little and curve, which helps it follow the rounded edges of a mask. Double-fold tape is the version you use to finish a raw edge, and it needs no seam allowance of its own.
Gather these before you start:
- Double-fold tape in cotton. Cotton keeps the edge easy to press and sew. If you make tape yourself, Closet Core recommends a thin fabric with a stable weave, such as quilting cotton, poplin or lawn.
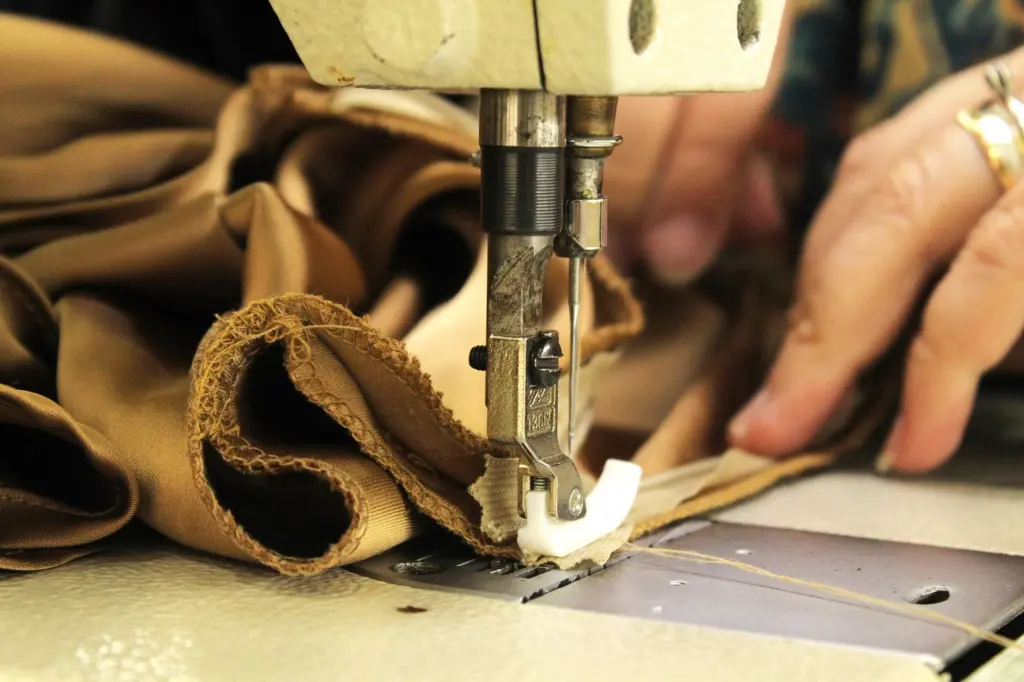
- A sewing machine with an edgestitch foot. WeAllSew names the Edgestitch Foot #10 / 10C / 10DD as a favourite for a finished look on masks. A regular foot works if you guide the edge carefully.
- Pins and matching thread. Pins hold the tape in place while you stitch.
- A completed mask body. If your pattern is sewn and turned, work through how to turn a mask right side out and press the layers before you pin any tape.
The simplest route: ready-made double-fold tape
Ready-made double-fold tape is the quickest way to bind a mask and gives the fewest things to go wrong. Work along one edge at a time.
- Pin the tape to the edge. Lay the tape along the mask edge and pin it, letting the tape curve with the mask rather than forcing it straight.
- Stitch along the first fold. This secures the tape in place, as in the Closet Core method.
- Wrap the tape over the edge. Bring the tape over to the other side so its folded edge covers the first line of stitching, and re-pin.
- Edgestitch the binding. Stitch about 1/8 inch away from the folded edge of the tape, with the edgestitch foot if you have one.
- Secure the ends. WeAllSew advises that securing your stitches is a must on masks that will be washed and worn frequently, so backstitch or use your machine’s securing function at both ends of each seam.
Check the underside as you go. If your stitching misses the tape on the back, slow down and keep the edgestitch distance steady. A consistent distance from the fold looks neater than a perfect one that wanders.
Choosing the right tape width
For a mask edge, 3/8 inch finished double-fold tape is the sensible starting point. Closet Core calls 3/8 inch and 1/2 inch the most common finished widths and suggests 3/8 inch for most garments. It recommends 1/2 inch for quilts and quilted jackets, so choose the wider tape if your mask is quilted or has layered padding. The 1/4 inch figure in the table below is a tie strap width rather than an edge binding.
| Finished width | Cut strip width if making your own | Suits | Planning use |
|---|---|---|---|
| 3/8 inch double-fold | 1.5 inch bias strip | Most garments | Default for a mask edge and the easiest to keep narrow and neat. |
| 1/2 inch double-fold | 2 inch bias strip | Quilts and quilted jackets | Choose for thicker or quilted mask layers. |
| 1/4 inch strap | 1 inch cotton strip, folded to 1/2 inch, then folded in half | Mask ties | Use for straps, not for wrapping an edge. |
Edge widths and strip sizes come from Closet Core, and the strap sizes come from Madam Sew’s strap tutorial.
Single-fold tape changes the maths. Melly Sews notes that single-fold tape needs a seam allowance equal to half the tape width, while double-fold needs none. Most mask patterns already include a 1/4 inch seam allowance, according to WeAllSew, so check whether your pattern’s allowance is already built in before binding.
When the edge has corners
Curved edges take double-fold tape easily, but a square corner needs a mitre. Closet Core’s method marks 1/2 inch from the edge for 1/2 inch tape, or 3/8 inch from the edge if you are using 3/8 inch tape. Match the mark to your tape width and stop your stitching at that point to fold the corner.
If your mask has rounded corners, skip the mitre. The slight stretch of bias-cut tape lets it ease around gentle curves without extra folding.
Making ties from bias tape
Bias tape makes a good tie, because Madam Sew describes it as a great alternative to elastic or ribbon for securing a handmade mask. The tutorial makes straps from cotton fabric in this way:
- Cut the strips. Cut 4 strips of cotton fabric, each 1 inch wide, with a rotary cutter and mat.
- Run each strip through a tape maker. The tutorial uses a 1/2 inch bias tape maker, which leaves the strip 1/2 inch wide.
- Fold the tape in half lengthwise. The strap is now 1/4 inch wide.
- Close the strap. Sew along the edge with a straight stitch and a regular stitch length.
- Finish a raw end. Double-fold one raw end and sew it down by hand.
If you own a bias binder attachment, WeAllSew says ties can be made super fast with the BERNINA Bias Binder Attachment #88. For a tape-free alternative, see how to make fabric ties for a face mask.
Escalating: making your own tape
Make your own tape when the shop range lacks the colour, print or width you want. Bias tape only counts as bias tape when it is cut on the bias, according to Melly Sews; strips cut parallel to the cross grain or straight grain are binding instead.
- Pick a stable cotton. Quilting cotton, poplin or lawn all work, per Closet Core.
- Cut to the right strip width. A 1.5 inch bias strip makes 3/8 inch double-fold tape, and a 2 inch strip makes 1/2 inch tape.
- Use the spacing rule. When marking double-fold tape, Melly Sews says the lines should be 4 x the final width apart.
Once the tape is folded and pressed, bind the mask exactly as in the ready-made route.
Checkpoints and when to stop
- Tape type. Double-fold needs no seam allowance, but single-fold needs half its width. Confirm which you hold before you pin.
- Stitch placement. The edgestitching should sit about 1/8 inch from the folded edge and catch the tape on both sides.
- Secured ends. Every seam end should be backstitched, because the mask will be washed often.
- Tie strength. Strap seams should be closed along the whole edge with a straight stitch, and the finished raw end hand-stitched down.
Stop at the ready-made route if the edge looks neat on both sides and the tape lies flat. Only move on to corners, ties or homemade tape if the mask needs them.
Frequently asked questions
How much tape can one fat quarter make?
Melly Sews reports getting 4 yards of 1/2 inch double-fold tape or 8 yards of 1/2 inch single-fold tape from a fat quarter, so one piece covers many masks.
Can I use straight-grain strips instead of bias strips?
For ties that do not have to attach to a quilt-style edge, WeAllSew says straight-of-grain strips are fine. For binding a curved edge, use true bias-cut tape so it can stretch and curve.
Is double-fold tape better than single-fold for a mask edge?
Double-fold is simpler because it needs no seam allowance. Single-fold works too, but you must allow half the tape width as seam allowance.
Is there a quicker way to make the tie tape?
A bias binder attachment for your machine makes ties very quickly, according to WeAllSew. A hand-held tape maker with a pressing step is the slower alternative.