| Symptom | First action | Planning use |
|---|---|---|
| Corners look blunt or lumpy | Trim the corner allowance diagonally before turning | Do this while the mask is still inside out |
| Curved edges pucker or pull | Cut small notches into the curved allowance | Notch only up to, never through, the stitching |
| Seam edge rolls to the wrong side | Press the seam open, then roll it outward as you turn | Press before you turn, not after |
| Finished mask looks crumpled | Press the turned mask flat with an iron | Final step before edging or adding ties |
The seam steps and pressing order in this table follow a bias-tape mask tutorial from Sweet Red Poppy.
To learn how to turn a mask right side out cleanly, trim the seam allowance first, press the seams, then turn gently and press flat. Good results depend on preparing the seam before the mask goes through the gap.
This guide covers one stage of the wider process in our overview of how to sew a face mask. Use it once your seams are stitched and before you finish the edges.
Check the seam before you touch the scissors
A mask turns well only when the seam underneath it is sound. The mask tutorial uses a 3/8 inch seam allowance and backstitches at the start and end of each seam, so the stitching does not open when you pull the fabric through (Sweet Red Poppy). That same guide places two pieces of fabric right sides together before sewing, which is why the mask must be turned afterwards to bring the right sides out.
Check three things before trimming:
- Backstitching: look at both ends of every seam. A loose end will split when you push on a corner.
- Allowance width: keep it even along the seam. An uneven allowance bunches inside the mask and shows from the outside.
- Fabric choice: tightly woven quilting cotton is the fabric the tutorial specifies, with an adult three-layer cut of 9 in x 7 in and a child cut of 7 in x 5 in. Plain cotton holds a pressed crease well, so it suits turning and pressing.
Once the seam is secure, you can begin trimming the bulk that makes corners and curves misbehave.
Clipping corners
Corners fail because the allowance has nowhere to go when it is folded into a point. The symptom is a blunt, bulging tip. The fix is to remove the excess fabric inside the point.
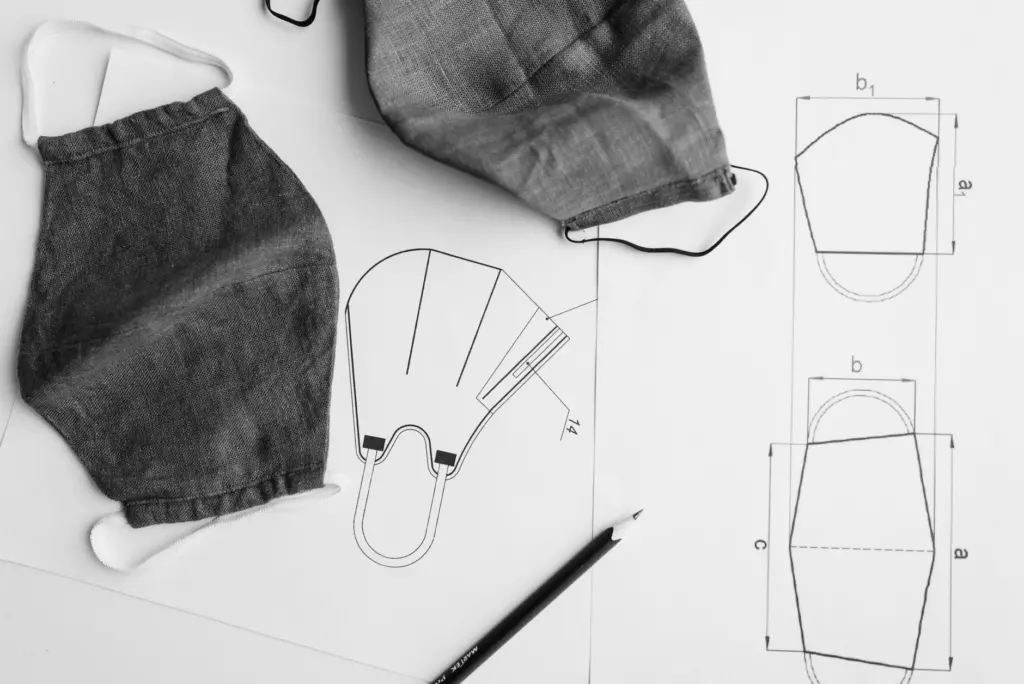
- Cut across the tip: snip diagonally across each corner of the allowance, leaving a small margin of fabric beyond the stitching.
- Stay clear of the thread: a cut that touches the stitching leaves a hole or a fraying weak spot at the corner.
- Trim both sides evenly: next to the tip, the allowance on each side can be shaved slightly so the folds lie flat against each other.
Use small, sharp scissors for this and cut one corner at a time. If the fabric frays easily, trim a little less and accept a slightly softer corner rather than risk a split.
Notching curves
Curved seams puff and ripple because the outer edge of the allowance is longer than the inner edge once folded. Notching cuts small wedges from the allowance so the fabric can compress instead of crowding.
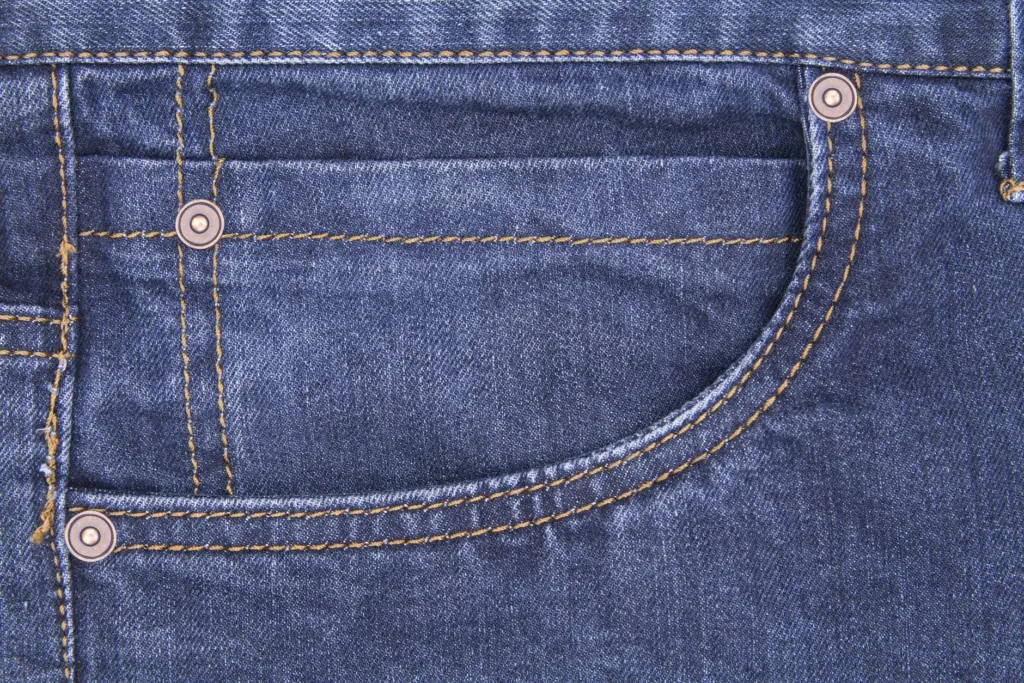
- Outward curves: cut small notches at intervals along the allowance, stopping just short of the stitching.
- Inward curves: make small straight snips in the allowance so it can spread open when turned.
- Gentle curves: a mask with a shallow curve needs only a few cuts. Too many weaken the seam.
If a curve still ripples after turning, you have not removed enough allowance, or the notches are too far apart. Turn the mask back, add a few more cuts and try again. Mask styles that avoid curves, such as the pleated design in how to sew pleats in a face mask, rely mainly on corner trimming instead.
Press the seams, then turn
Press before you turn. The tutorial tells the maker to press seams with an iron, and no particular heat setting is given, so choose a setting that suits your cotton and keep a press cloth handy if you are unsure (Sweet Red Poppy). A pressed seam has a crease that guides the fabric as it folds, so the edge sits where you want it.
To turn the mask right side out, follow these steps in order:
- Reach through the opening and take hold of the inner layer at a corner.
- Pull the mask through gently, a little at a time, rather than yanking.
- Roll the seams outward as the fabric emerges, so the stitching line sits right on the edge.
- Ease each corner out with a blunt, rounded tool. A pointed tool can punch through the thread.
- Smooth the edges with your fingers and check that no allowance is folded back inside.
The key instruction in the tutorial is to take care to roll the seams outwards. If a seam stays on the inside as a ridge, the edge will look uneven even after pressing. Turn the mask back partway and reset it.
Press the turned mask flat
The same tutorial finishes by turning the mask right side out and pressing it flat with an iron. This step sets the edges and removes handling creases, and it gives the next stage a flat edge to work on. When you add binding, the technique in how to bind a face mask with bias tape goes on much more neatly over a pressed edge. The bias-tape tutorial also turns the corner right side out for a clean finish, which applies the same idea at the tape stage.

- Press, don’t drag: lift and set the iron down along the edge. Sliding it can stretch the cotton and distort the shape.
- Work the edge first: run the iron along the seamed edge, then the centre.
- Let it cool: keep the mask flat until the fabric cools so the crease holds.
Fixing puckered seams
Mask seams pucker after turning for a few common reasons. Match your symptom to its cause below.
- Seam not rolled outward: if the stitching sits inside the fold or is pulled to one side, the edge tugs. Turn it back and roll the seam outward, as the tutorial directs.
- Bulky allowance: untrimmed allowance has no room and pushes the seam into ripples. Clip corners and notch curves, then turn again.
- Uneven allowance: if one layer is wider than the other, the narrower layer pulls tight. Trim both layers to a matching width.
- Not pressed: an unpressed seam springs back and distorts. Press it flat on both sides.
Work through these in order. Most puckering clears once the seam is trimmed and rolled out, and pressing then holds it in place.
Frequently asked questions
| Question | Answer |
|---|---|
| Should I press the seam before turning the mask? | Yes. The tutorial presses the seams with an iron first, then turns the mask right side out and presses it flat again. |
| What fabric turns and presses best? | Tightly woven cotton. The tutorial’s three-layer quilting cotton cut is 9 in x 7 in for adults and 7 in x 5 in for children, and a 100% cotton piece is also used in other cloth mask guides. |
| Do small masks really need clipped corners? | Yes. Small masks have little room for folded allowance, so trimming the tip is what lets the corner turn out sharp instead of blunt. |
| How far can I cut when notching? | Cut up to the stitching but never through it. A cut that reaches the thread weakens the seam. |