| Symptom | First action | Planning use |
|---|---|---|
| Raw edge shows beside the hem | Feed less fabric into the fold as you stitch | Check this on a scrap before you commit to the mask edge. |
| Thin fabric chews or puckers at the start | Stabilize the first inch with a strip of fusible interfacing | Prepare the strip before you reach the first stitch. |
| Hem looks bulky or bunches | Trim the excess to about 1/8 in (3.2 mm) from the stitching before the second fold | Trim after the first stitching and before you fold again. |
| Curved edge will not lie smooth | Run wide machine basting 1/4 in (6.35 mm) from the raw edge as a guide | Use it on any curved mask edge before folding. |
Figures above follow By Hand London’s narrow hem tutorial and Madam Sew’s rolled hem guide.
To learn how to sew a narrow hem, fold the raw edge over twice in small, even steps, press each fold, and stitch close to the inner fold. On a small project, tiny folds keep bulk down.
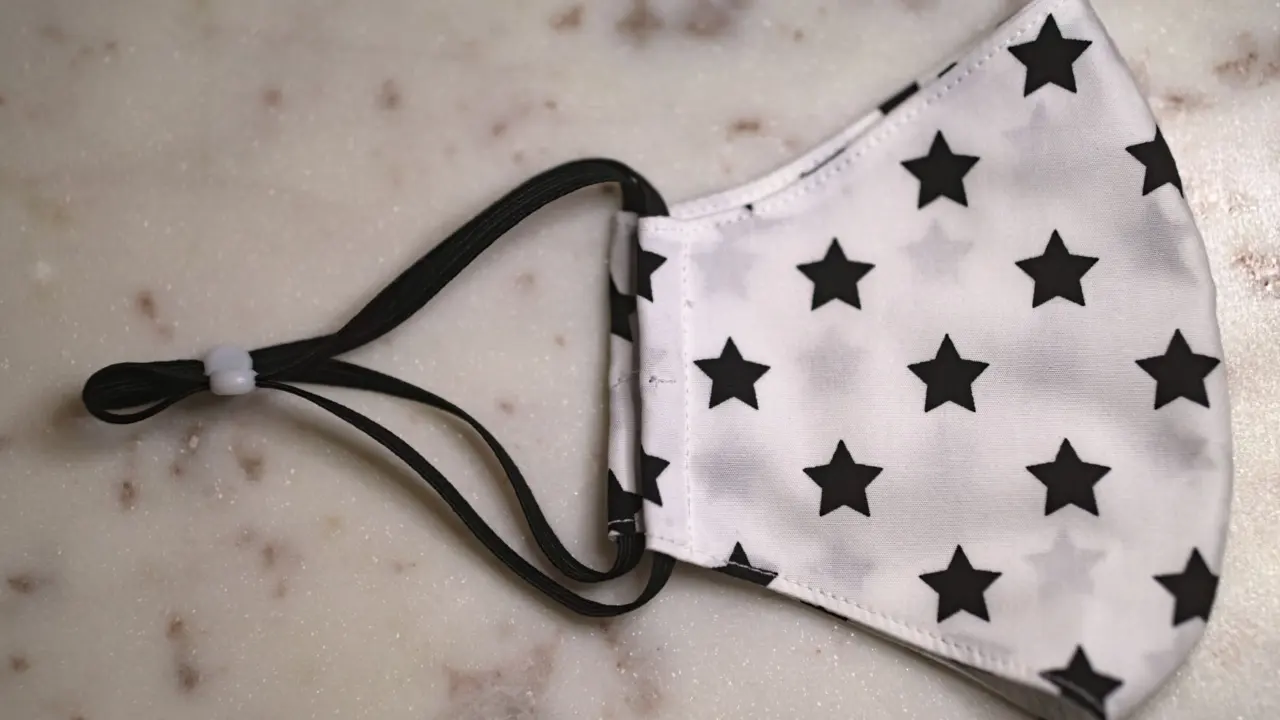
If you are building a whole mask, start with how to sew a face mask, then return here for the edge finishing. The sections below pair each common problem with its fix.
Why a narrow hem suits small pieces
A narrow hem is made of two small folds, so it adds very little weight to an edge. Madam Sew describes the result as a very small hem, between 1/16 in and 1/8 in (1.6 mm to 3.2 mm) wide, made up of two tiny folds. Its rolled hem foot and flat hem foot both make 1/8 in (3.2 mm) wide hems.
That finished width is the narrowest option. By Hand London notes that the method is mostly great for sheer and delicate fabrics and reduces bulk that would weigh down a hem or make it bunch up. Choose it when the fabric is light or the edge is curved. Choose a wider hem when you need room for a casing.
Two routes to the same edge
- Hand-folded and pressed. You control every fold with an iron and pins, and you need no special foot. It suits one-off edges and curves.
- Hemmer foot. The foot has a funnel on the front side where the fabric rolls up before stitching. It suits long, straight edges once you can feed the fabric steadily.
Pressing and folding the edge
The iron does most of the work in a narrow hem. Simplicity advises that you press and use pins to keep your hem in place before stitching. Their garment version presses up 5/8 in (1.5 cm) at the lower edge, then turns the raw edge in to meet the crease. That is a garment allowance, so a mask-scale edge needs a much smaller fold.

The folding sequence
- Baste a guide. Run a line of wide machine basting 1/4 in from the raw edge, as By Hand London suggests for curved or delicate edges. Use it as the first fold line.
- Fold and press. Fold along the guide and press firmly so the crease holds.
- Stitch the first fold. Sew about 1/8 in from the fold.
- Trim. Cut the excess close to the stitching, about 1/8 in from the stitches. By Hand London calls that distance ideal.
- Fold again. Turn the trimmed edge about 3/8 in from the first fold, or a scant 1/4 in, then press and pin.
Trimming is what separates a narrow hem from an ordinary double fold. If the hem looks bulky or bunches, you probably skipped it or left too much fabric.
Stitching the hem
Stitch close to the inner fold, but leave a little margin. The Last Stitch advises sewing a little farther from the edge to make sure the seam will catch the entire fold. If the stitching sits too near the fold’s outer edge, part of the fold can slip free and open up later.
Symptom: the raw edge shows
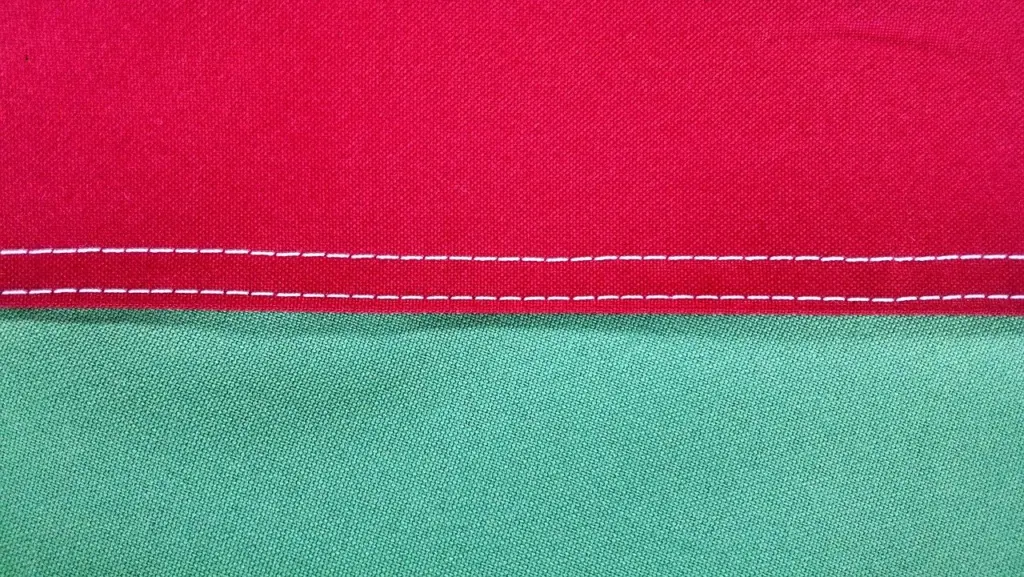
Madam Sew explains that if you feed too much fabric in, the raw edge will show next to the hem. This is mainly a hemmer-foot problem. Feed a little less fabric and watch the funnel instead of the needle.
Symptom: the fabric puckers at the start
Lightweight fabric can struggle in the first few stitches. Madam Sew’s remedy is to stabilize the first inch with a little strip of fusible interfacing. If you want to know how interfacing behaves in a mask, read about interfacing for face mask projects.
Checkpoint before moving on
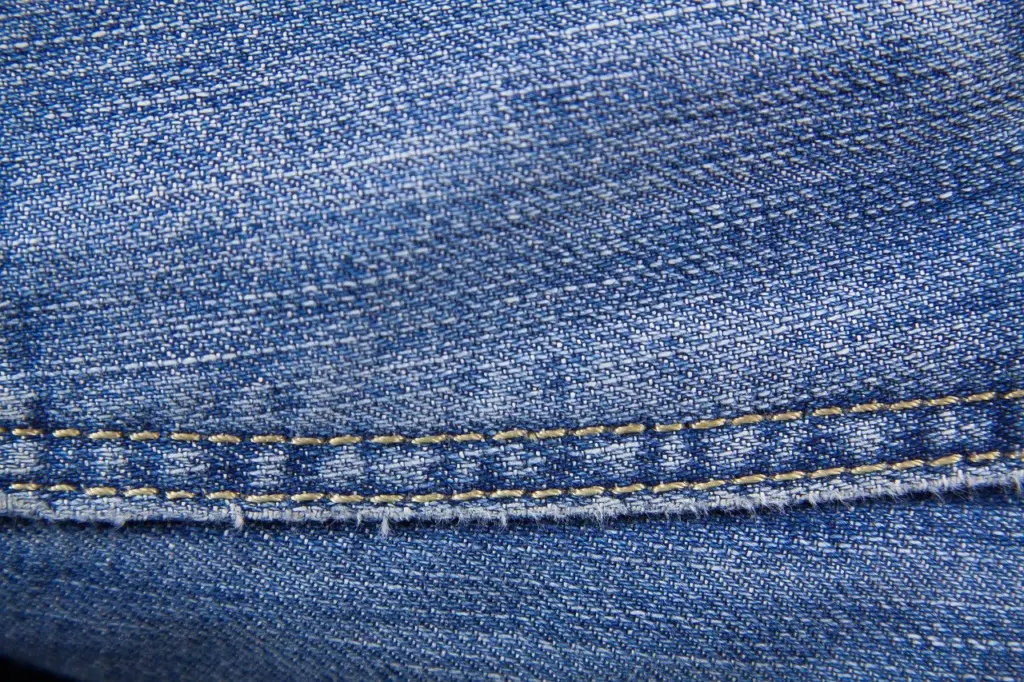
- Fold width. Both folds should look even along the whole edge.
- No raw edge. Look at the wrong side and confirm the stitching caught the full fold.
- Flat press. Press the finished hem once more so the stitches settle into the fabric.
Hemming curved edges
Curved edges feed harder than straight edges, according to Madam Sew, and that is where narrow hems go wrong. The same source adds that hemming a circular edge is basically the same as hemming over seams, so the folding and trimming stay the same. What changes is the care you take with feeding.
Symptom: the hem twists on thin fabric
On thin fabric the top layer can creep and twist. The Last Stitch suggests using an awl or another sharp tool to gently push the outer layer of fabric toward the presser foot. Keep the tool well clear of the needle and move slowly.
Symptom: the curve will not lie flat
The basted guide helps here, because it gives you a visible fold line to follow as the edge turns. Press the fold in short sections and pin it before stitching. Trimming close to the first stitching also removes the extra fabric that causes bunching on a curve.
Casings at mask scale
A casing is a hem wide enough to hold elastic, so it works differently from a narrow hem. On a mask side edge, the narrow hem finishes the raw edge and the casing carries the elastic. Decide which job each edge needs before you fold.
Because a mask rests against the skin, a bulky edge is easier to feel. A trimmed narrow hem keeps the weight down, and pressing keeps the folds from standing up. If the fabric is very light, use the interfacing strip at the start of the seam so the stitching does not pull the fabric down into the machine.
Frequently asked questions
| Question | Answer |
|---|---|
| How do you sew a narrow hem? | Fold the edge, press it, stitch about 1/8 in (3.2 mm) from the fold, trim close to the stitches, fold again and stitch. Pin before stitching. |
| How do you hem curved edges? | Baste a guide line, press the folds in short sections and feed slowly. On thin fabric, an awl can nudge the top layer toward the presser foot. |
| How wide is a finished narrow hem? | Madam Sew gives about 1/16 in to 1/8 in (1.6 mm to 3.2 mm), made of two tiny folds. |
| Why does the raw edge show next to my hem? | Too much fabric is being fed in. Feed less and watch the fold. |