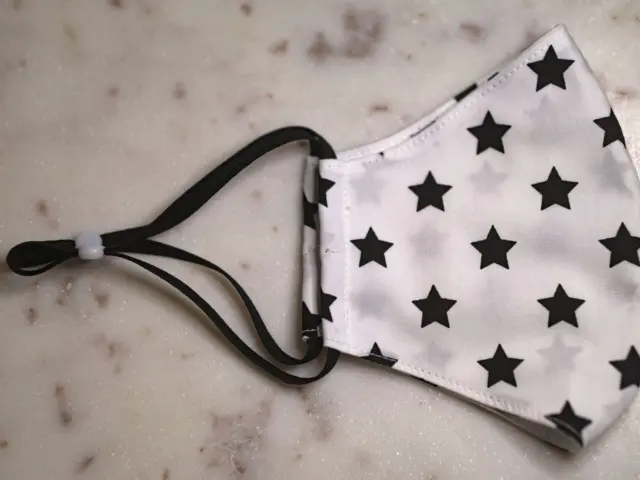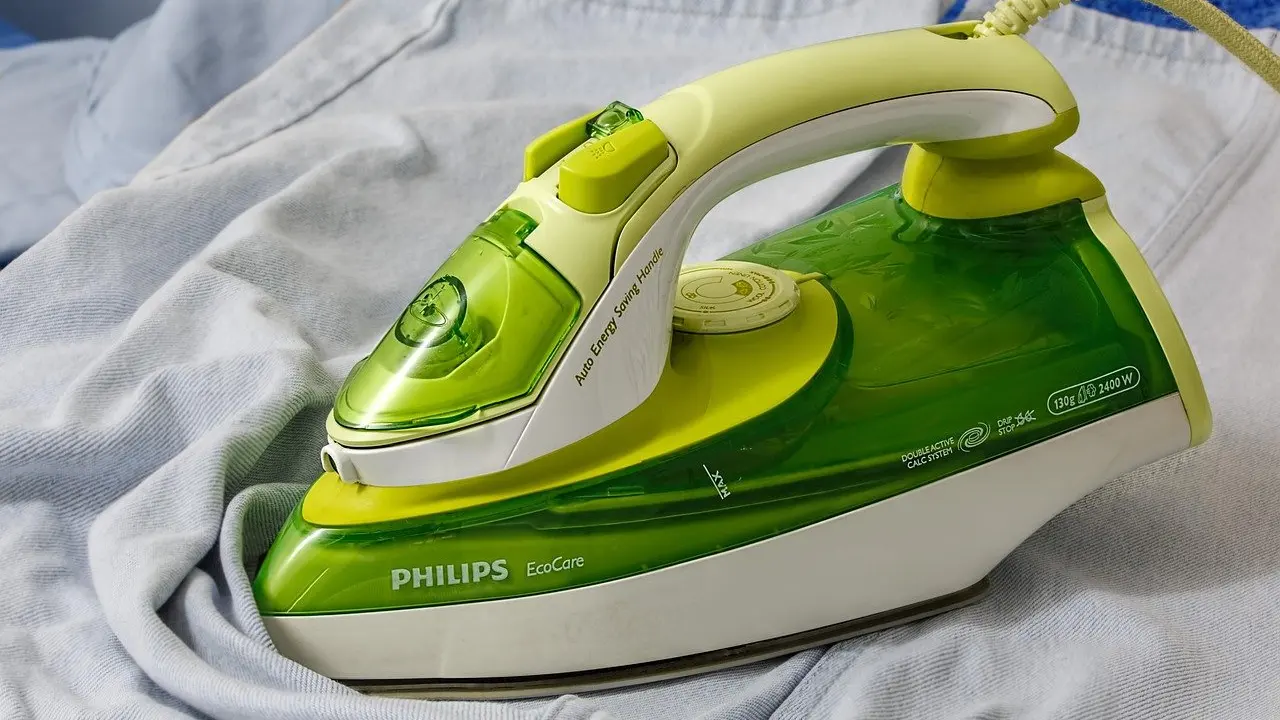
Quick answer: Interfacing for a face mask is best as non-woven fusible, pressed onto the cotton with a pressing cloth and trimmed inside the seam allowance. Test on a scrap first, because heat and glue behave differently by product.
This technique sits inside the wider process of how to sew a face mask. The steps below cover choosing, fusing and trimming, then what interfacing does to breathing comfort.
What you need before you start
- Cotton fabric: Cut your mask pieces from tightly finished cotton. Fusing suits cotton well, but it should not be used on very textured or heat-sensitive materials that ironing could crush, scorch, distort or damage, according to Wawak’s fusible interfacing guide.
- Fusible interfacing: This is fabric or non-woven material with a coating of heat-activated glue on one side. The glue side faces the wrong side of the cotton.
- Iron and pressing cloth: You need a dry iron and a press cloth. A cloth protects both the iron soleplate and the fabric surface.
- A scrap of your mask fabric: Use it for a trial fuse before touching a real mask piece.
- Sharp scissors: Needed for trimming the interfacing after you cut the fabric.
Expected outcome: a mask piece with a stable, smooth layer that sews cleanly and does not add bulk at the seams.
Choosing the right interfacing
Can you use interfacing in a face mask? Yes, and a mask-maker blog, Ageberry, states that any non-woven interfacing is suitable for a face mask. The same source adds that interfacing used as a filter layer makes a mask better than having none, because it adds to the filtration properties.
Non-woven or woven
For a fabric mask, non-woven is the sensible choice. Woven interfacing is no better for filtration than any other regular fabric, because a woven material inherently has gaps between its fibres, comparable with thread size. If you want the interfacing to do something beyond stabilising, choose non-woven.
Fusible or sew-in
Fusible is quicker and holds the layer flat while you sew. The Ageberry post notes that the heat-activated glue is a potential source of allergens, though it cites no known cases, and that some people think non-fusible interfacing might be more suitable. If you have a sensitive wearer in mind, sew-in non-woven is a reasonable alternative. Mood Fabrics also points to sew-in interfacing for delicate or heat-sensitive fabrics such as silk, lace, velvet or certain synthetics, so choose it when your outer fabric will not tolerate an iron.
Fusing interfacing step by step
Step 1: Cut the fabric first
Cut your cotton mask pieces to pattern size, including the seam allowance. Cut the interfacing afterwards, using a fabric piece as the template so the shapes match.
Step 2: Trim the interfacing inside the seam allowance
Do you cut interfacing smaller than the fabric? Generally yes. Interfacing that reaches into the seam adds thickness where several layers already meet. Sewing Studio advises trimming seam allowances to reduce bulk in finished seams, and trimming the interfacing back from the cutting edge works toward the same goal. Cut it slightly smaller than the fabric so it sits fully inside the seam allowance. This matters most on curves and corners, and on pleated masks where fabric already stacks up; see how to sew pleats in a face mask for how thickness builds in those folds.
Step 3: Test on a scrap
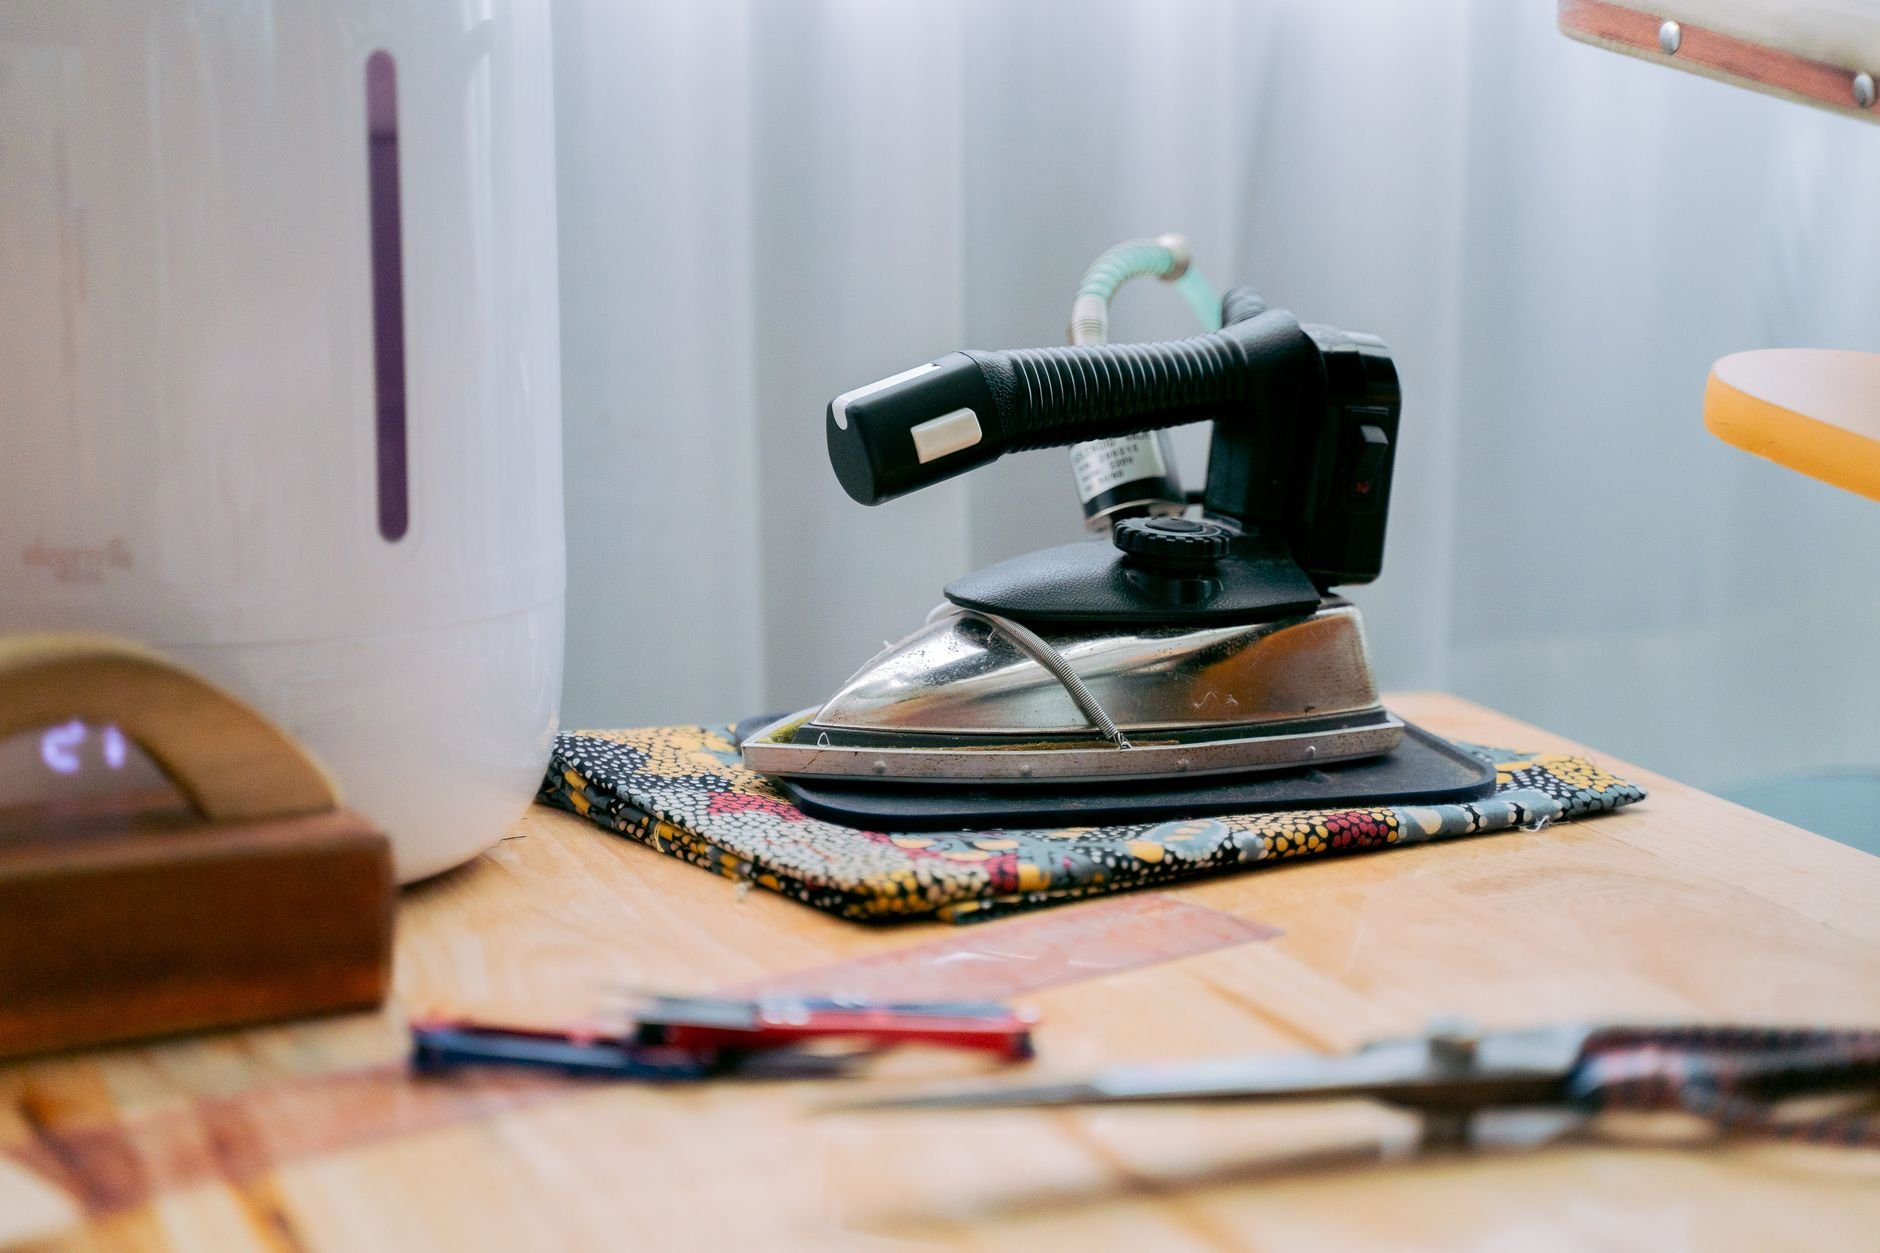
Wawak’s guide says to always test fusible interfacing on a scrap piece of fabric before applying it to your project. Check that the cotton does not scorch, that the glue bonds, and that the surface stays smooth.
Step 4: Set the iron
Heat the iron to a low-temperature setting or as specified by the interfacing manufacturer’s instructions. Use dry heat. Sewing Studio warns that steam can prevent proper adhesion, so turn the steam off. Always follow the instructions printed on your interfacing if they differ from general advice.
Step 5: Position and cover
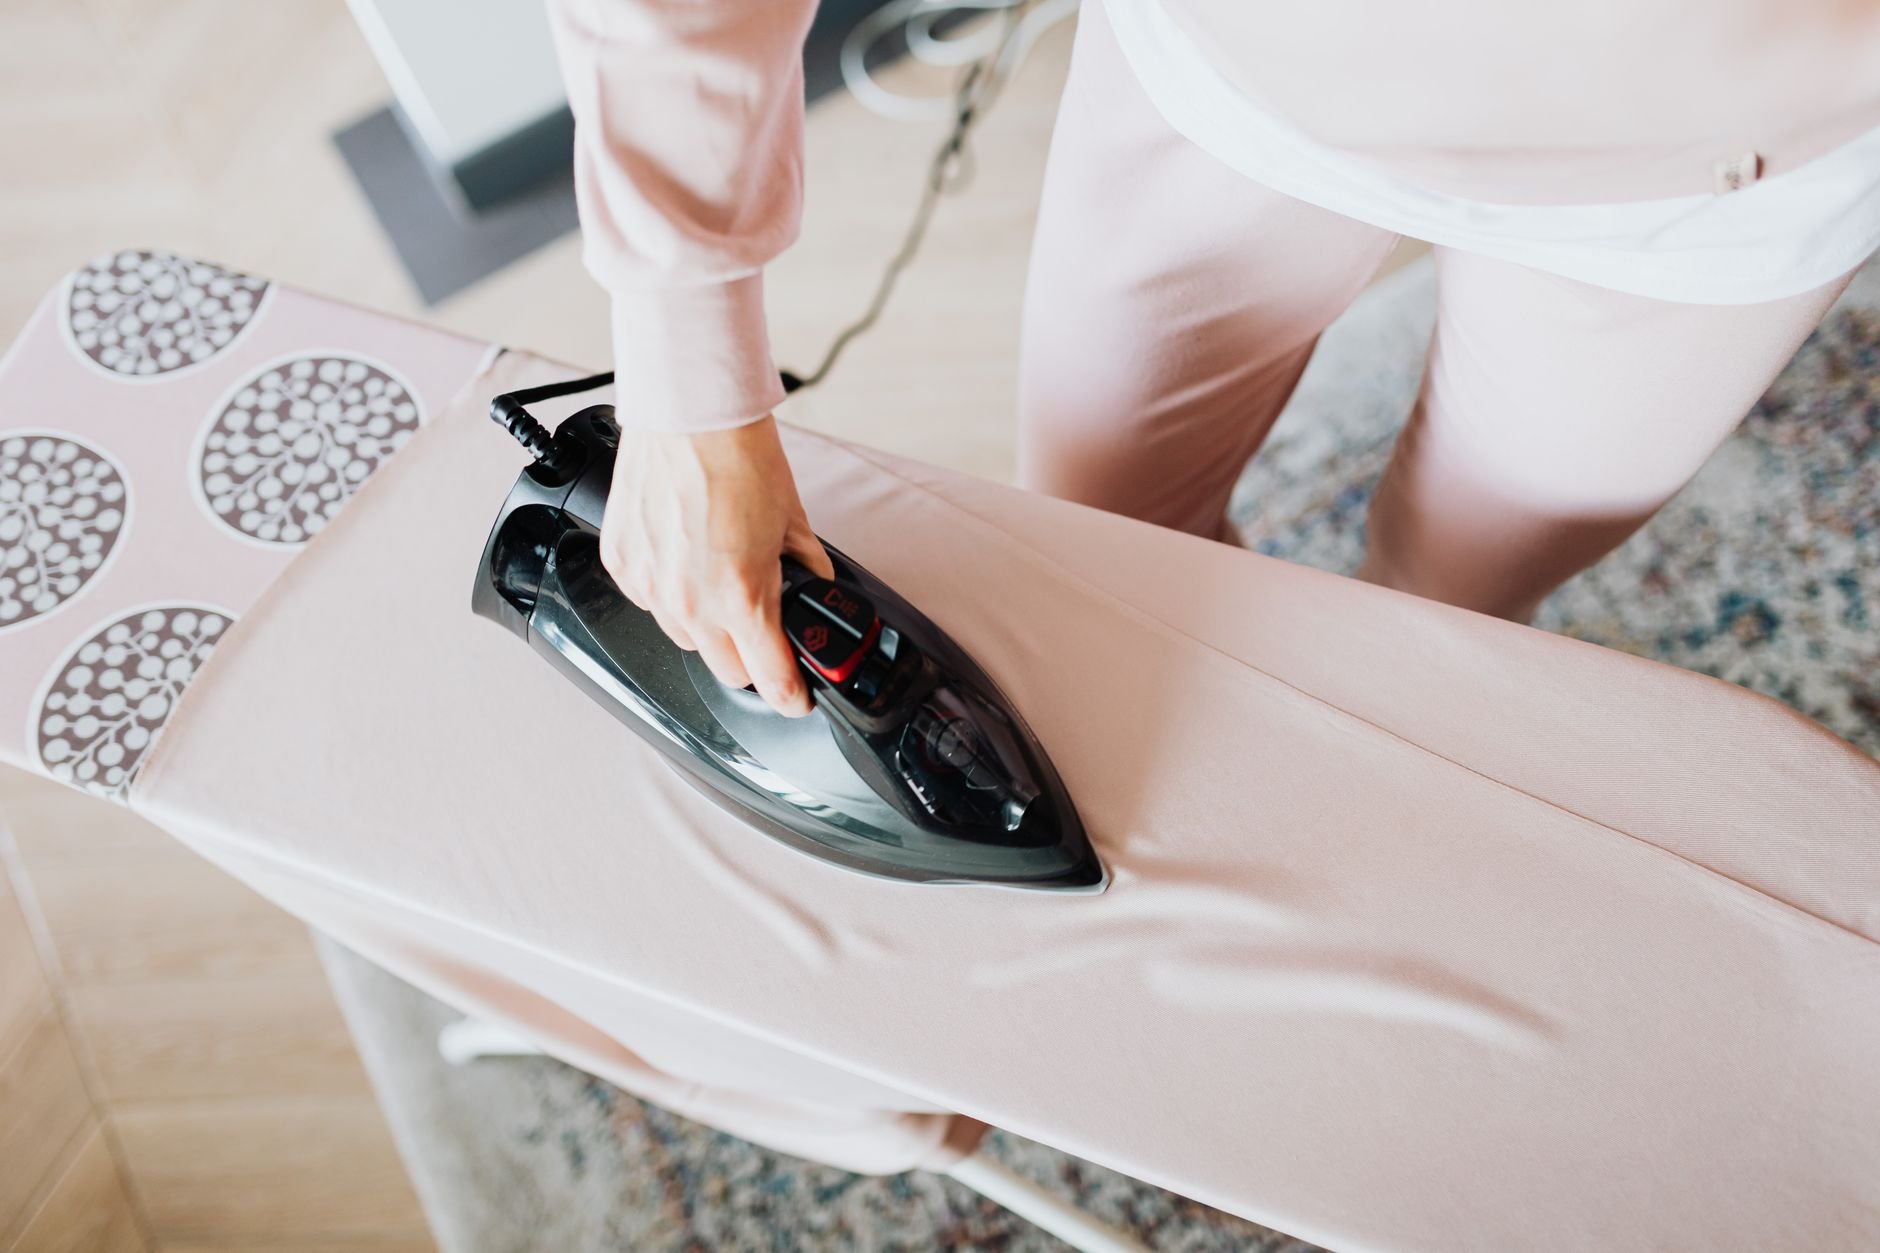
Lay the cotton wrong side up. Place the interfacing on top with the glue side down against the fabric. Cover both with a press cloth. Wawak suggests lightly spraying the cloth with water.
Step 6: Press, do not slide
Rather than using a back-and-forth ironing motion, press the interfacing without sliding the iron. Hold, lift, then move to the next spot with a slight overlap. Timing depends on the product and heat. Wawak says 8-10 seconds is usually sufficient for a low-temp iron, while Sewing Studio recommends pressing firmly for 10-15 seconds per section. Start at the shorter end on a low setting, and move toward the longer end only if your scrap test shows the bond is weak.
Step 7: Let it cool and check the bond
Leave the piece flat until the fabric cools. Run a fingertip over the surface, checking for lifted edges or bubbles. Re-press any loose area through the cloth. Then continue with your normal construction. If your mask has a finished edge or channel, the technique for how to sew a narrow hem applies well to the small hems around the mask.
Checkpoints and common problems
| Checkpoint | What to look for | Planning use |
|---|---|---|
| Iron setting | Low temperature or the manufacturer’s setting, dry heat | Turn steam off before pressing; steam can block bonding. |
| Press time, low-temp iron | 8-10 seconds per spot is usually enough | Use as a starting point on a scrap. |
| Press time, firm pressing | 10-15 seconds per section with slight overlap | Try if the shorter time leaves edges unbonded. |
| Motion | Press and lift, no sliding | Prevents shifting and distortion. |
| Fabric suitability | Not for very textured or heat-sensitive material | Choose sew-in interfacing for these fabrics. |
Figures are drawn from Wawak and Sewing Studio, and your interfacing’s own instructions take priority.
Mistakes to avoid
- Skipping the pressing cloth: Direct contact risks marking the fabric or leaving glue on the soleplate.
- Sliding the iron: This can shift the interfacing and leave wrinkles that are hard to remove once bonded.
- Using steam: Moisture from steam can stop the glue from bonding properly.
- Leaving interfacing in the seam: It adds bulk where seams meet, so trim it back as described under the heading on trimming the interfacing inside the seam allowance.
Does interfacing affect breathing?
Does interfacing make a mask harder to breathe through? Any extra layer adds some resistance, so the answer depends on the product. A retailer, Sewing Studio, describes cotton-based fusible interfacing as breathing well and handling frequent washing while keeping its bond. That is a product claim rather than a test result, so judge comfort by wearing a trial mask rather than assuming.

Does interfacing work in a mask as a filter? Ageberry says interfacing used as a filter adds to filtration, but also that woven interfacing filters no better than ordinary fabric. If you want the benefit, pick non-woven. If a mask feels stuffy, remove the interfacing layer or switch product rather than adding more layers.
Frequently asked questions
Which interfacing is best for a fabric mask?
Non-woven interfacing is the practical choice. Fusible suits most makers, while sew-in non-woven suits anyone who prefers to avoid heat-activated glue or is using heat-sensitive fabric.
Can I use steam when fusing?
No. Keep the iron on dry heat, because steam can prevent proper adhesion.
Is fusible glue a problem for skin?
Ageberry describes the glue as a potential source of allergens without citing known cases. If you are concerned, use non-fusible interfacing.
Why test on a scrap first?
A scrap shows whether your cotton scorches, whether the glue bonds at your iron setting and how the fabric feels afterwards, before you risk a cut mask piece.