| Symptom | First action | Planning use |
|---|---|---|
| Pleats creep sideways under the needle | Pin or clip each pleat, then topstitch around the outside edge | Secure the folds before they reach the machine. |
| Pleats point the wrong way on the face | Put the nose wire opening at the top so the pleats run down the face | Decide direction before any stitching. |
| Pleats look uneven | Mark fold lines, or fold three equal-ish pleats by eye | Marking suits repeat batches; eyeballing suits a single quick mask. |
| Mask comes out too tall or too short | Adjust the pleats evenly with your fingers until the finished height is about 3 in | Check the height before pressing. |
| Bulky, wavy edges | Press the seams flat after turning right side out | Press before you pleat and again before topstitching. |
These fixes come from two published mask tutorials: Create Whimsy’s pleated mask project and Diary of a Quilter’s quick mask tutorial.
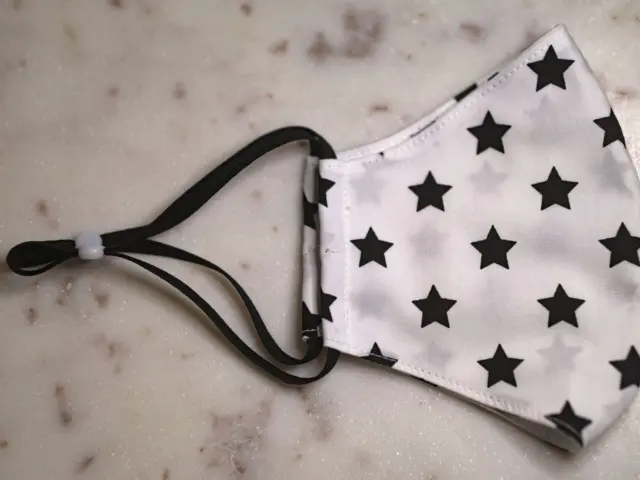
Knowing how to sew pleats in a face mask, fold three equal pleats along the mask sides, pin or clip them so they cannot shift, and topstitch over them around the edge. Press first, and point the pleats down the face.
This guide covers only the pleating step. For the full build from cutting to ear loops, see our guide on how to sew a face mask.
Tools and fabric to gather
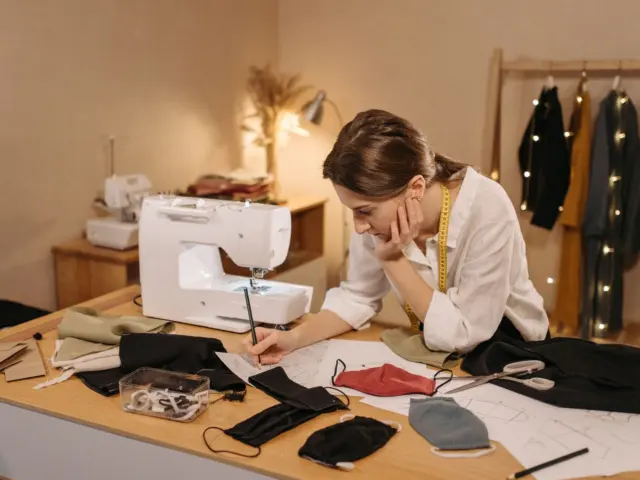
A pleated mask needs very little equipment: cotton fabric, a sewing machine, pins or clips, and an iron. Create Whimsy’s project also lists a rotary cutter, cutting mat and quilter’s ruler, which make accurate rectangles easier to cut and give you a straight edge for marking pleat lines.
Pre-wash the cotton before cutting. Diary of a Quilter recommends pre-washing fabrics before making them into masks, which means any shrinking happens before the pleats are set and stitched.
Pleated masks hold their shape through the fold itself, but some makers like extra body in the fabric. If you want that, read how to use interfacing for face mask projects before you cut.
Cutting and preparing the rectangle
Start from a plain rectangle, because the pleats are folded into it rather than cut. The two published patterns size it differently. Diary of a Quilter uses two fabric pieces, each 8 in wide by 8.5 in long, for a medium adult mask. Create Whimsy cuts one piece 8 in by 14.5 in for the main face mask.
Choose by construction. Two pieces suit the quick method, where you sew the pieces together and turn them. A single longer piece suits the accordion-fold method, where the fold is made in the fabric itself.
Little Stitch Studio publishes its pleated mask pattern as a PDF in three sizes: adult, older child or tween, and young child. Every size is constructed in the same manner, so once you have learned the pleating on an adult rectangle, the same steps carry over to the smaller sizes.
Choosing pleat width and spacing
Published patterns agree on three pleats and then differ on how precisely you place them. Treat the choices below as approaches, not rival rules.
- Eyeball it. Diary of a Quilter gathers the sides into three equal pleats and says you can measure, but eyeballs three equal-ish pleats. This is fast and fine for one mask, as long as the pleats stay roughly matched.
- Fold an accordion. Create Whimsy folds the rectangle in half in an accordion fold and presses well, producing three pleat lines. It then adjusts the pleats evenly with the fingers until the finished height is about 3 in. Use the 3 in height as the check, not as a width for each pleat.
- Use a jig. Designs by Donna builds a pleating jig template 6 in wide by 6.5 in long. Its fold lines sit 1 3/4 in, 1 3/4 in and 1 1/2 in apart for three pleats. The jig is meant to provide repeatability, accuracy and speed, so it earns its keep when you are making several masks.
For a single mask, the accordion fold with a height check is the most forgiving. For a batch, make the jig once and reuse it so every mask has the same pleat spacing.
Why equal pleats matter
Uneven pleats leave one side of the mask fuller than the other, and the two edges no longer line up when you topstitch. If a mask looks lopsided after pinning, unpin and refold rather than hoping the stitching will pull it straight.
Setting pleat direction
Pleat direction is decided by how you orient the fabric, not by the stitching. Create Whimsy places the nose wire opening at the top, which makes sure the pleats go down your face when wearing the mask.
In practice, mark the top edge of the rectangle before you fold anything. Then fold every pleat the same way, so the folds all face down. Pleats that alternate direction create a bulky, uneven surface and are harder to hold flat under the foot. If you are unsure which edge is the top after pressing, check your marking before you pin.
Pinning and stitching the pleats
Hold the pleats firmly before the fabric touches the machine. Create Whimsy finds clips easier than pins for securing the casing edges, which is useful on thick pleated layers where pins tend to distort the folds or slide out. Pins still work if that is what you have, as long as you place them across the pleats and remove them before they reach the needle.
Seam allowance
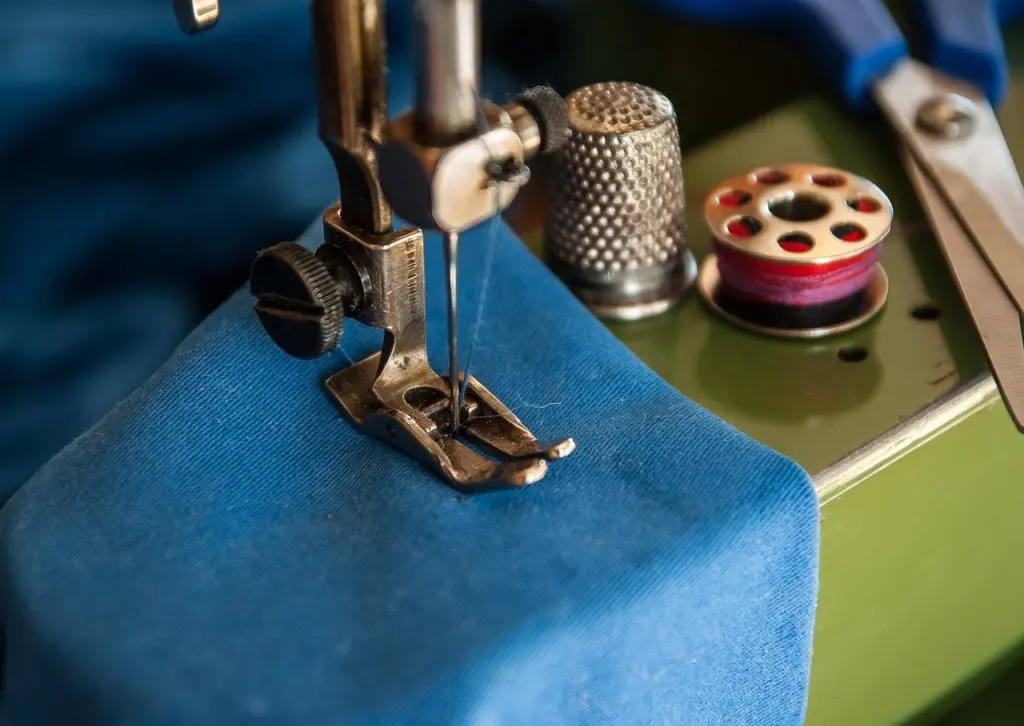
The two tutorials use different allowances, because they build the mask differently. Diary of a Quilter sews the side seams with a generous 1/4 in seam. Create Whimsy sews in 2 in from each edge with a 1/2 in seam allowance. Follow the allowance in whichever pattern you started with, and do not mix the two within one mask.
Topstitching
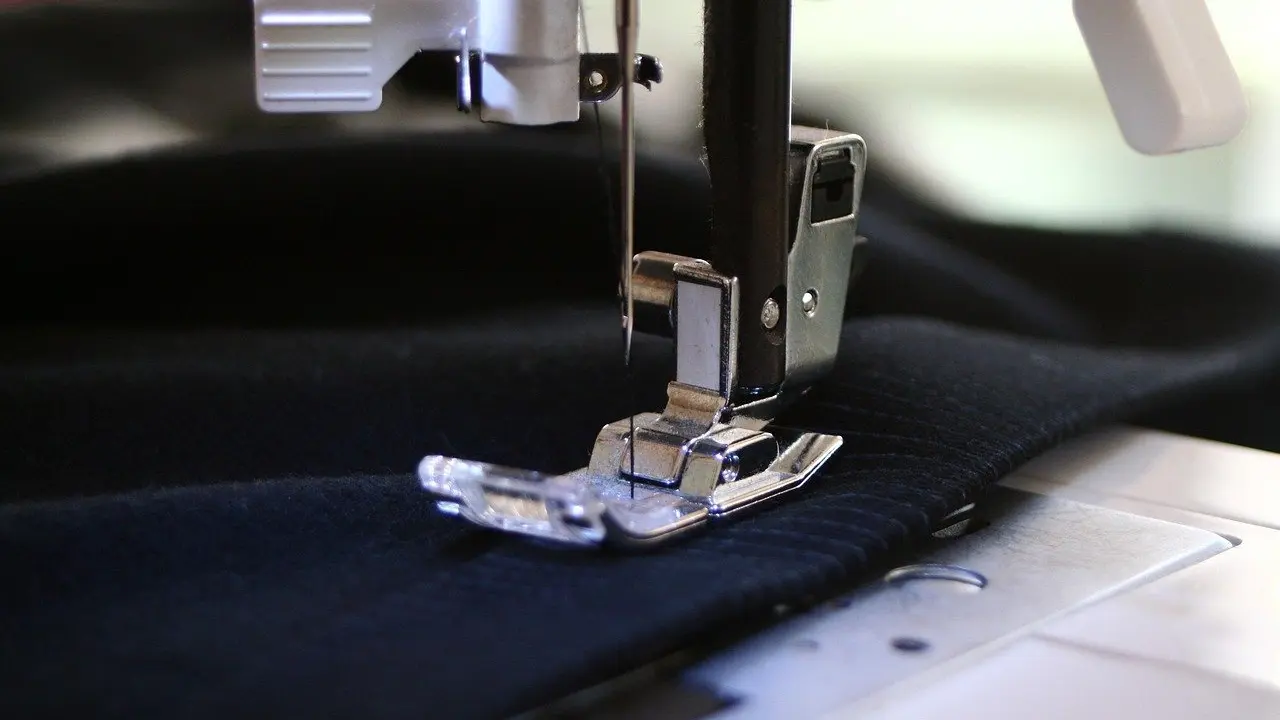
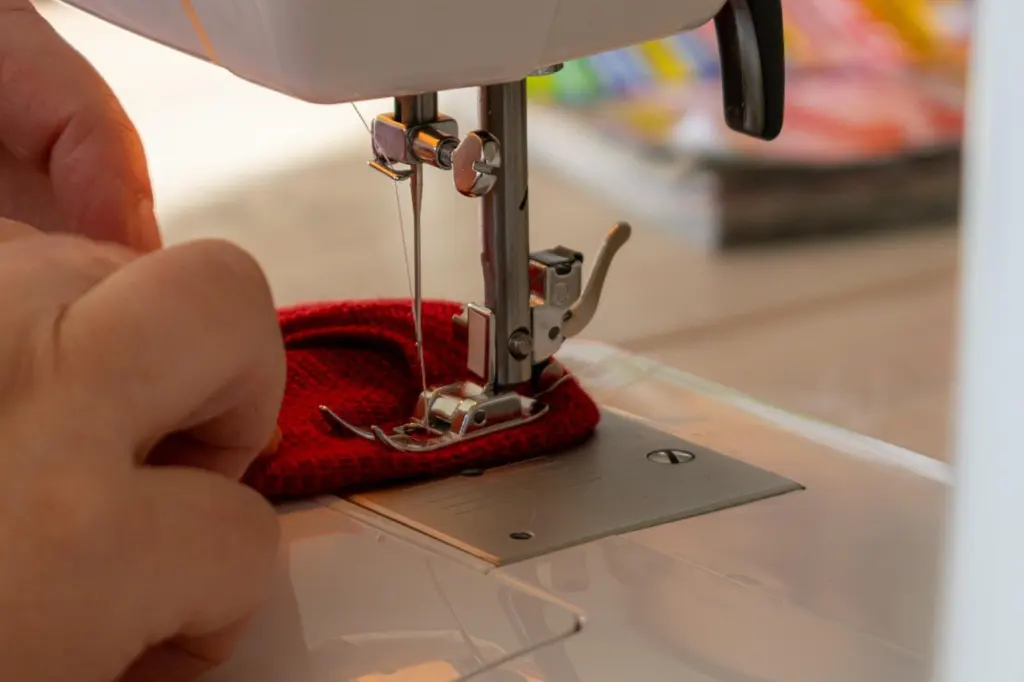
Once the pleats are pinned or clipped, top-stitch around the outside edge of the entire mask, sewing down the pleats as you go. This stitching is what secures them permanently, so go slowly over the thickest part and keep the pleat folds square to the needle.
Pressing and finishing
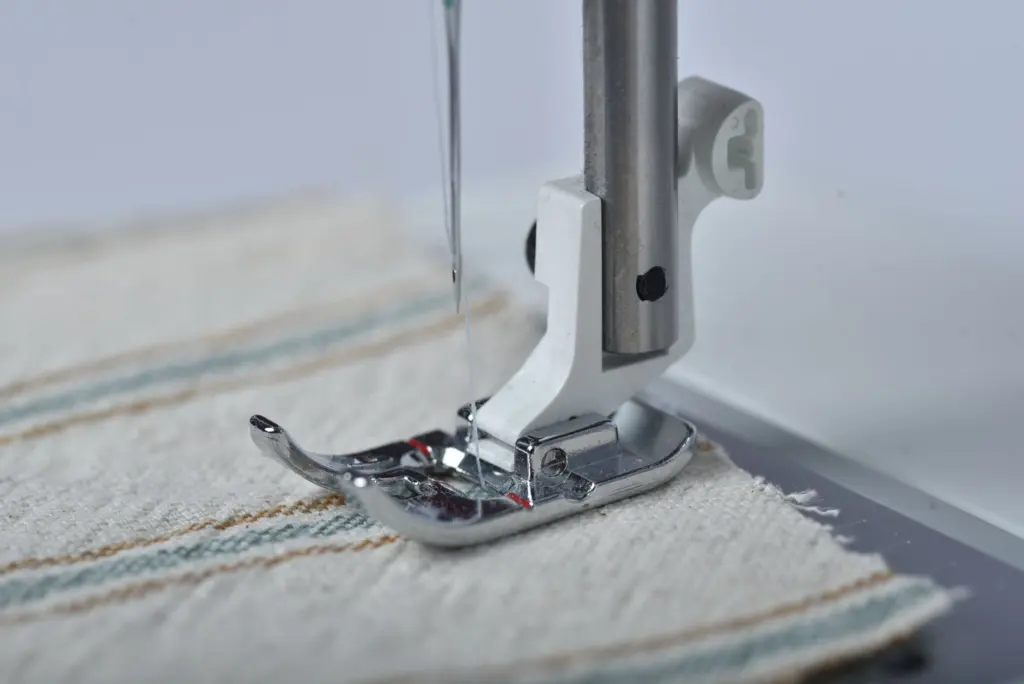
Pressing does half the work in a pleated mask. Diary of a Quilter turns the mask right side out and carefully presses so the seams are flat. Create Whimsy likewise presses well after the accordion fold. If you need a refresher on turning corners cleanly, our guide on how to turn a mask right side out covers clipping, turning and pressing.
Before your final topstitch, check three things: the pleats all face down from the nose edge, the finished height is about 3 in, and the seams lie flat. Fix any problem now, because once the edge is topstitched the pleats are fixed in place.
Frequently asked questions
| Question | Answer |
|---|---|
| Should I wash the fabric before pleating? | Yes. Diary of a Quilter recommends pre-washing fabrics before making them into masks. |
| Do child sizes need a different pleating method? | No. Little Stitch Studio says all sizes of its pleated mask are constructed in the same manner. |
| Is a pleating jig worth making? | It is worth it for batches. Designs by Donna describes jigs as providing repeatability, accuracy and speed. |
| How many pleats should a mask have? | Three. Both the quick method and the accordion fold produce three pleats. |