To learn how to sew multiple layers of fabric without puckering, fit a walking foot so the top layer feeds as fast as the bottom, hold the layers with clips, and stitch slowly in straight lines. Corners and pleats need extra care.
This guide suits anyone building layered masks, and it complements the wider how to sew a face mask overview. The expected result is flat, even seams that do not drift or ripple where layers stack up.
What you need first
Puckering usually starts with the machine’s feeding, not your hands. Check the tools below before you stitch anything.
- Walking foot: an attachment that adds an extra set of feed dogs, according to Fieldtex. Some machines have built-in dual feed under brand names such as IDT or AcuFeed, as The Sewing Directory explains.
- Sewing clips: a gentle way to hold layers together that will not damage delicate fabric, and they reduce the heavy pinning slippery fabric would otherwise need.
- A strong needle: a Jeans needle, paired with a Jeans foot and a straight stitch plate on a BERNINA, gives strong penetrating power through thick stacks, per We All Sew.
- Scrap layers: offcuts stacked the same way as your real project, so you can test before committing.
If your machine has no dual feed, a walking foot is the most direct fix. Entry-level versions come with nearly every machine that costs less than $1,500, according to Sewing Machine Shop, and the same source notes that these have plastic feed teeth.
Sewing the layers step by step
Step 1: Understand why layers shift
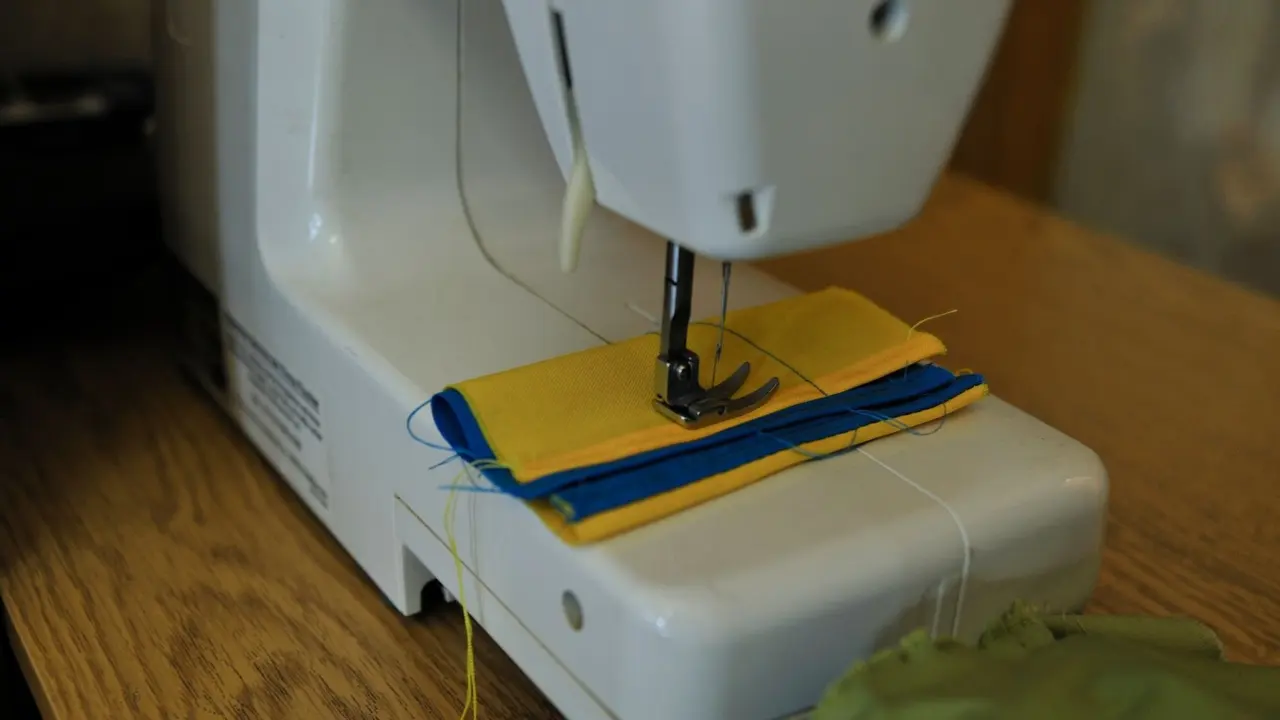
Feed dogs only make contact with the bottom layer of fabric, so the top layer is free to travel at a different rate. In multi-layer work, the top layers may not move as fast or as easily as those next to the feed dogs. That lag is what produces ripples, drag lines and mismatched edges.
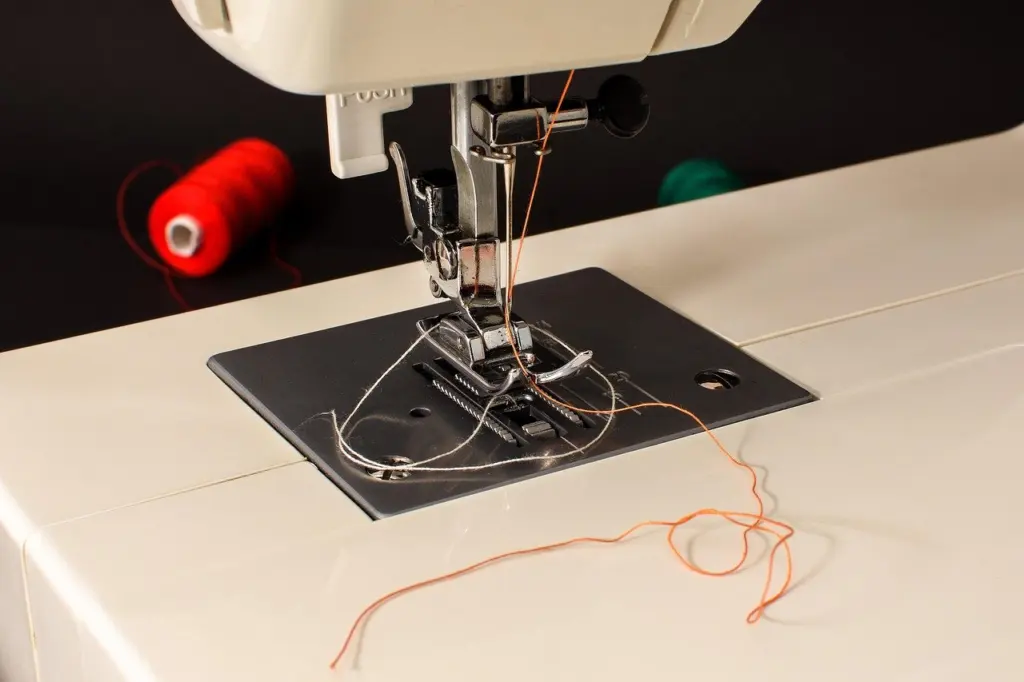
Step 2: Attach the walking foot
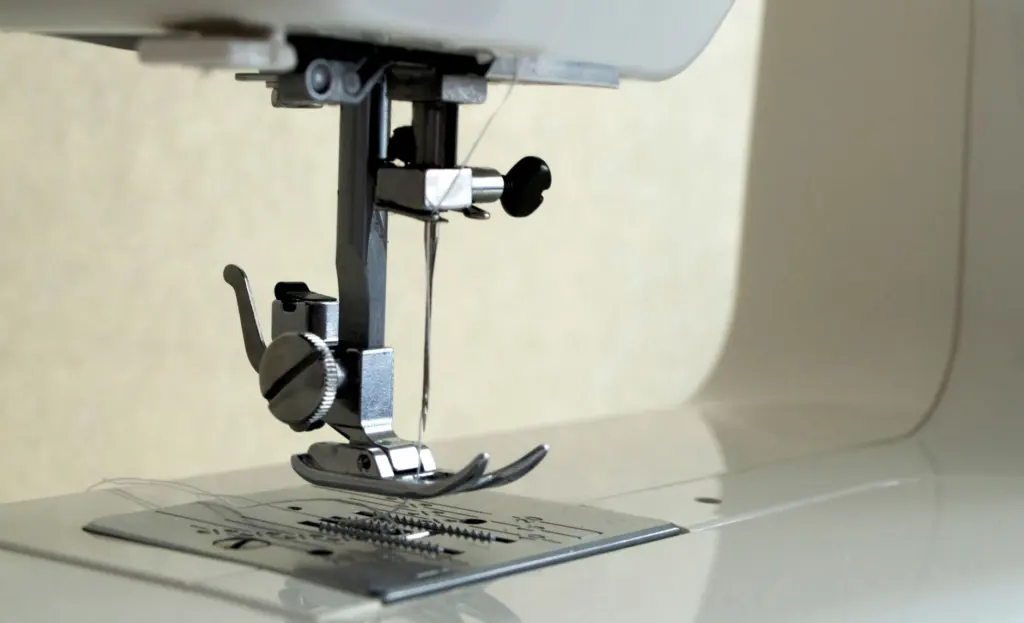
Raise the needle and presser foot, then detach the shank of the presser foot, as Fieldtex describes. Fit the walking foot and clip its lever to the needle bar. That lever lets the foot’s own feed teeth walk along the top layer in step with the machine’s feed dogs.
The result is that the top layer moves at the same pace as the bottom layer, which prevents the shifting and puckering a normal presser foot can cause, according to Madam Sew. An open-toe version also gives you extra visibility of the sewing area, which helps when you are lining up a seam through a thick stack.
Step 3: Choose the needle and stitch plate
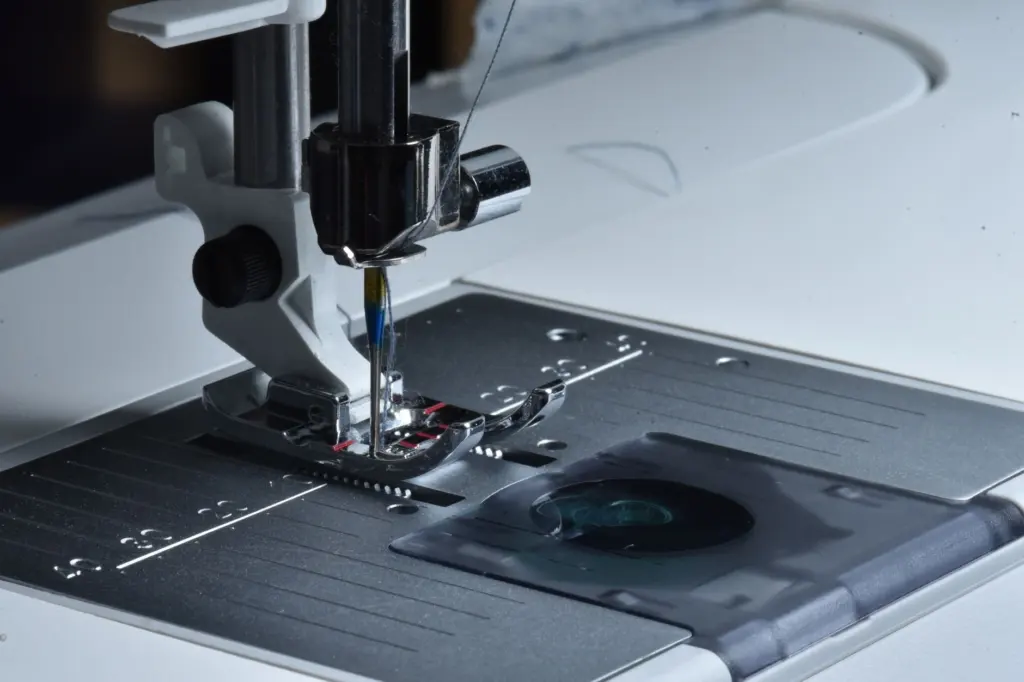
Fit a needle meant for dense layers before you assemble the real piece. If your machine allows it, a straight stitch plate adds to the combination described by We All Sew. Run your scrap stack through and check that the needle passes cleanly without deflecting.
Step 4: Clip the layers together
Align the edges and attach clips along the seam line rather than pinning through the whole stack. Clips hold a thick sandwich without perforating it, and they are easy to slide off just before the foot reaches them. Because the walking foot already controls the top layer, you need fewer clips than a standard foot would demand.
Step 5: Stitch slowly and straight
Guide the fabric lightly and let the feed do the work. A walking foot is meant for straight-line sewing, and it can lower your sewing speed even more on curves or angles, according to Fieldtex. It also assists forward movement and will not let fabric move side to side, so do not try to steer sharply with it fitted. It is not designed for use in reverse either, so lock stitches the way your machine manual advises rather than backstitching with the foot.
Step 6: Adjust feed ratio if your machine allows
Some machines let you tune the relationship between the walking foot and the feed dogs. Janome’s AcuFeed, for example, has a differential feed knob that adjusts the feeding ratio. If a stack still creeps, test small changes on scraps. For wider tuning, see our guide to sewing machine settings for face masks.
Dealing with bulk at corners and pleats
Corners and pleats are where layers pile up most, so they are where a walking foot is hardest to use. Because the foot slows down on angles, approach a corner with the needle down only as far as your machine manual allows, and plan the seam so most of it is a straight run.
For bulk, work in this order:
- Stitch the straight sections first with the walking foot fitted, since that is where it controls the top layer best.
- Trim excess allowance at corners and press seams flat before turning, so fewer layers meet at the point.
- Clip rather than pin pleats so the folds stay in place without puncturing the stack.
- Flatten stubborn seams with a firm press before topstitching. The walking foot is also useful when topstitching through multiple layers.
Where a pleat or corner is too thick for the foot to sit level, the same strong-needle approach applies: slow, steady stitching. If you are adding ear loops or ties at those corners, our guide on how to make fabric ties for a face mask covers keeping that area manageable.
Checkpoints and fixes
Use this table when a seam does not look right on your test stack.
| Symptom | Likely cause | What to do |
|---|---|---|
| Top layer ends up longer than the bottom | Feed dogs only grip the bottom layer | Fit a walking foot so the top layer feeds at the same pace |
| Ripples along the seam | Top layers lag behind the bottom layers | Use dual feed or a walking foot, and clip the edges |
| Walking foot struggles on a curve | It is meant for straight-line sewing | Stitch straight sections with it and slow down at angles |
| Needle struggles through the stack | Needle and plate not suited to thick layers | Use a Jeans needle and a straight stitch plate if your machine allows |
These points draw on guidance from Madam Sew and Sewing Machine Shop.
Stop and re-test on scraps if the seam still drifts after these fixes. A walking foot suits straight seams, while free-motion work is not possible with it because it limits side-to-side movement.
Frequently asked questions
How do you sew through many layers of fabric?
Use a walking foot or built-in dual feed, a needle suited to thick fabric, and clips to hold the stack. Walking feet are commonly used for bags, wallets and other multi-layer projects.
Why does fabric shift when sewing layers?
The feed dogs touch only the bottom layer, so the top layer can feed at a different rate. A walking foot grips the top layer and moves it at the same pace.
How do you reduce bulk in corners?
Trim excess allowance at the corner and press the seam flat before turning. Stitch the straight runs with the walking foot, because it slows down on curves and angles.
Do sewing clips replace pins?
For thick stacks, they are a good alternative. Clips attach layers without damaging delicate fabric, and a walking foot also reduces the need for heavy pinning on slippery fabrics.