| Method | Main materials | Drying and finish | Planning use |
|---|---|---|---|
| Papier-mache | Newspaper strips about one inch wide, paste, acrylic paint, clear spray sealant | Needs a day or two to dry completely, depending on humidity. Acrylic gives rich colour and dries quickly. | Choose it for a painted mask when you can wait out the drying. Allow extra time in a humid room. |
| Craft foam | Black crafting foam sheet, coloured feathers, fake flower petals, hot glue gun plus Elmer’s glue, glitter | The foam sheet is already coloured, so the finish comes from the decoration. Glue and glitter must dry untouched. | Choose it for a cut-and-glue build that feels sturdier than cardstock. |
| Decoration layer | Glue gun or craft adhesive, metallic paints, glitter | Metallic paint or glitter adds a shiny accent to any base. | Plan it last, after the base mask is finished, so it does not compete with the base. |
The materials and drying notes above come from a papier-mache mask tutorial and a masquerade mask craft guide.
A diy masquerade mask can be built from papier-mache, craft foam or cardstock, and the method you choose sets your materials, drying wait and finish. Papier-mache needs a day or two to dry; foam and cardstock are cut and glued.
This page compares the main routes side by side so you can pick one before buying supplies. If you already know the look you want, decorative mask ideas can narrow the choice before you commit to a method.
Choosing a starting method
The right method depends on how long you can wait, who is making the mask and how rigid or glossy you want the result. Each route below suits a different maker, and the later sections explain the materials and finishing steps for each.
- Papier-mache for a painted, sculpted surface. It suits makers who are happy to let layers dry for a day or two and who want to finish with acrylic paint and a clear spray sealant.
- Craft foam for a quick, sturdier build. It suits anyone who would rather trace a template, cut, glue and decorate in one sitting. A children’s craft guide recommends foam over cardstock when you want a sturdier mask.
- Cardstock for children and classroom sessions. It suits young crafters who can colour with poster paint, crayons or markers and glue on feathers and glitter glue.
- Decoration as a separate decision. Feathers, glitter and metallic paint can sit on any of the bases above, so choose the base first and the embellishments second.
If you are unsure, start with foam or cardstock to learn how a masquerade mask is shaped and worn, then move to papier-mache when you want a painted finish. The next sections take the methods in that order of commitment, beginning with the one that asks most of your time.
Papier-mache masks
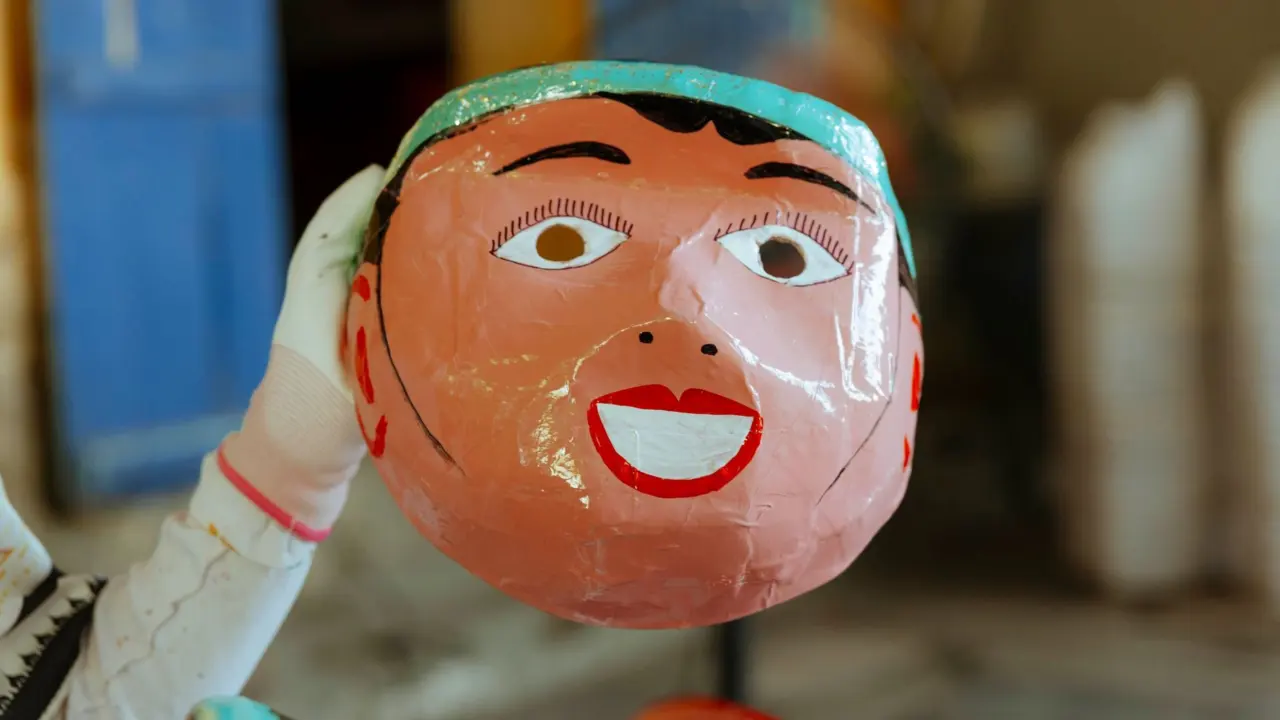
Papier-mache builds a mask from layered paper strips that harden as they dry. It is the method to choose when the finish matters more than the speed, because the dried surface takes acrylic paint well and can be sealed afterwards.
Materials and strip preparation
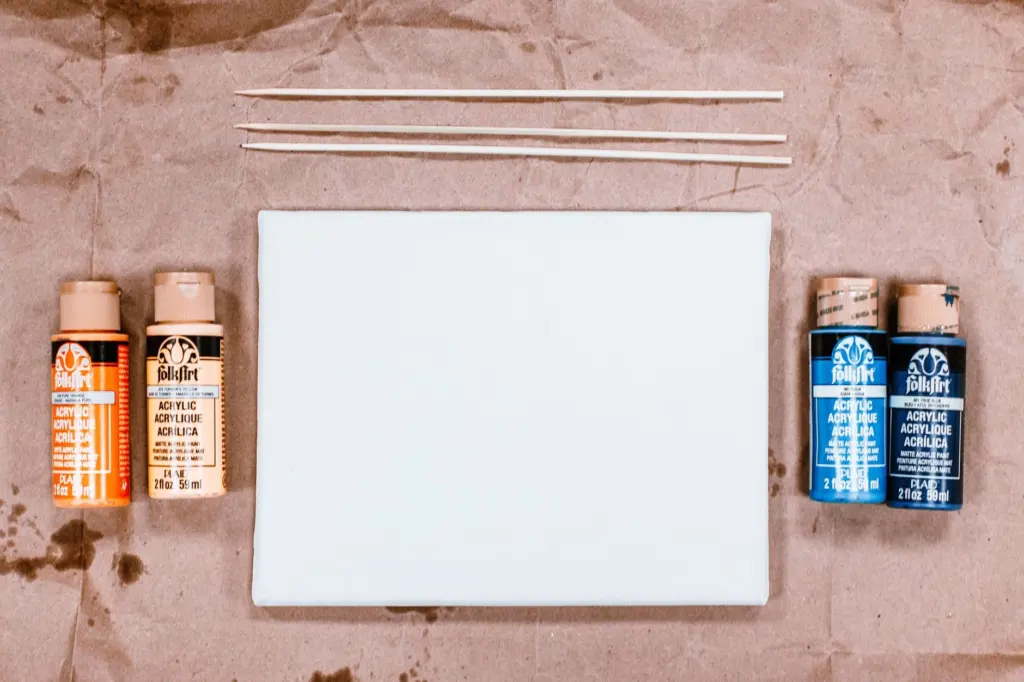
Newspaper is the usual strip material because, as a papier-mache mask tutorial puts it, newspapers are flexible and easy to shape. The same tutorial advises tearing newspaper into long strips about an inch wide to prepare for layering. Tearing rather than cutting is the instruction given, so keep to it.
A basic papier-mache material list therefore looks like this:
- Newspaper strips. Long strips about an inch wide, ready before you open the paste.
- Paste. The binder that holds each layer of paper together on your mask form.
- Acrylic paint and soft brushes. Acrylics are recommended for rich colour and quick drying.
- Clear spray sealant. It protects the finished artwork and adds a professional touch.
- Glue gun or craft adhesive. It secures embellishments once the painting is complete.
Set the strips out before you start so you can work steadily while the paste is workable. Keeping paper, paste and brushes within reach is the practical advantage of preparing in advance.
Layering and drying
Lay the strips over your mask form one at a time and build the surface gradually. The step-by-step version, including form choices and layering order, is in our guide on how to make a mask with paper mache.
Drying is the stage that decides your schedule. The tutorial says the mask must dry completely and that this may take a day or two, depending on humidity. Treat that as a planning figure rather than a promise: in a humid room, expect to be at the longer end and do not start painting until the mask is fully dry.
That wait is the main trade-off of this method. If you need a mask for the same afternoon, papier-mache is the wrong choice and foam or cardstock is a better fit. If you have a weekend, the patience pays off in a surface that accepts paint evenly.
Craft foam masks
Craft foam produces a cut-and-glue mask that needs no paste and no long drying stage. It suits makers who want to spend their time on decoration instead of surface building.
Foam material list
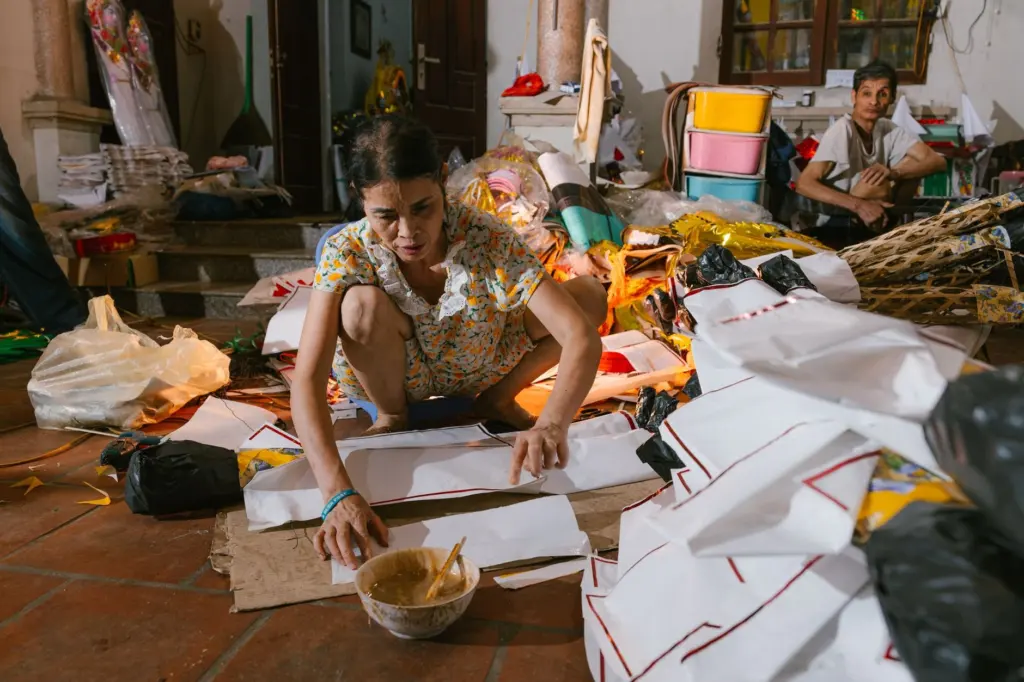
A masquerade mask craft guide lists the following for a foam-based masquerade mask:
- Black crafting foam sheet. This is the base, and its colour is part of the finished look.
- Coloured crafting feathers. They are the main decorative accent.
- Fake flower petals. They add shape and colour around the eyes or brow.
- Hot glue gun plus Elmer’s glue. The hot glue gun handles larger pieces, while the white glue suits finer detail.
- Glitter. It finishes the surface with sparkle.
Because the black foam is already coloured, you do not need to paint at all unless you want to. That removes the drying wait that papier-mache demands and makes foam the more forgiving route for a first masquerade mask.
Template, cutting and gluing
The guide’s construction is straightforward: print out the mask template and trace it onto your foam craft sheet, then cut the shape out. If you need a template that fits your face and a way to scale it, our guide to a mask template printable explains sizing and printing.
After cutting, add the decoration with glue. Lay the feathers and petals out on the cut mask before gluing, so you can judge balance before anything is fixed. A hot glue gun sets quickly, which makes the order of decoration matter: place the largest pieces first and the small accents last.

Foam is also the recommended step up from paper when strength is a concern. A children’s craft guide says that for a sturdier mask you should trace the template onto craft foam instead of cardstock, which is why the two materials appear side by side in the next section.
Paper, cardstock and kids’ masks
Paper-based masks are the most accessible way to answer a request for a mask for kids’ crafts, because the supplies are ordinary and the steps are short. They also answer the question of how to make a mask out of paper in two ways: layered newspaper strips for papier-mache, or a cut and painted cardstock mask.
Cardstock supplies for children
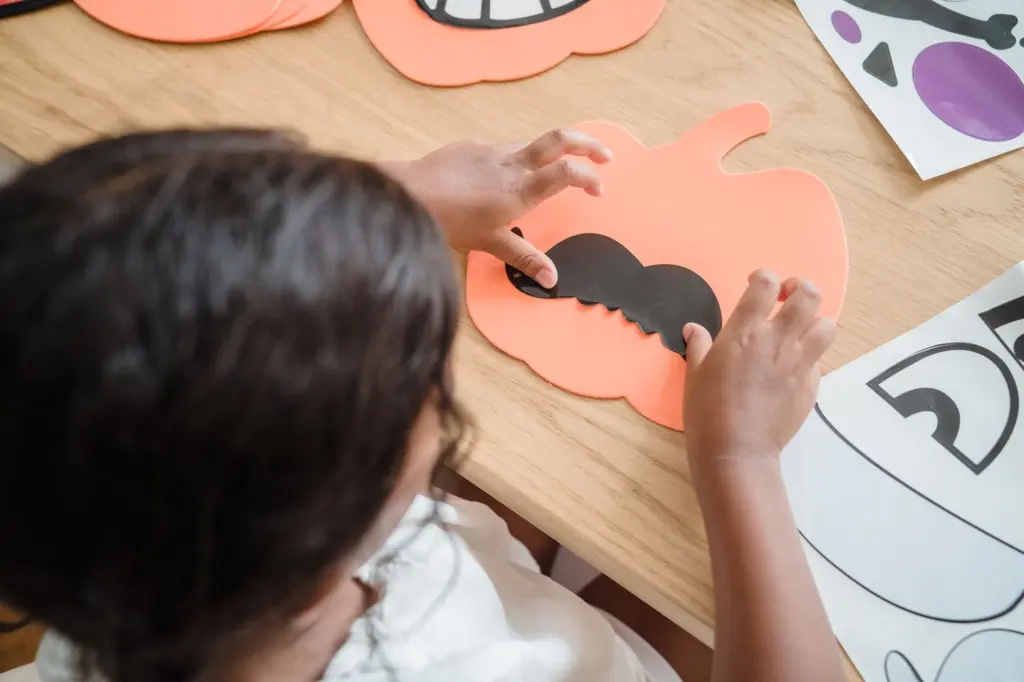
A children’s masquerade mask craft guide lists A4 or Letter cardstock, poster paint or crayons, scissors, white glue, a paint brush, feathers and glitter glue. Colouring options are flexible: the guide says you can paint with tempera or poster paint, or use crayons and markers.
That flexibility is what makes cardstock a good classroom or party choice. Younger crafters can use crayons or markers without waiting for paint to dry, while older children can paint and then add feathers and glitter glue.
Cardstock or foam?
The two cut-and-glue surfaces differ mainly in feel and in finish. The table below sets them next to each other so you can choose by group and effort.
| Surface | Supplies | Colour and finish | Planning use |
|---|---|---|---|
| Cardstock | A4 or Letter cardstock, scissors, white glue, paint brush, feathers, glitter glue | Tempera or poster paint, or crayons and markers | Choose it for children who will colour the mask themselves. |
| Craft foam | Black crafting foam sheet, feathers, fake flower petals, hot glue gun plus Elmer’s glue, glitter | Coloured sheet with decoration glued on top | Choose it when you want a sturdier mask and an adult can handle the hot glue gun. |
The supplies listed come from the children’s craft guide and the masquerade mask craft guide.
The hot glue gun is the practical dividing line. Cardstock projects use white glue and glitter glue, which keeps younger children working independently. Foam projects use a hot glue gun, so they suit a supervised group or an adult-led session.
Other paper-based projects
If you are working with a group, a paper plate mask is another paper-based starting point with its own set of ideas. For something with more body than cardstock, our guide on how to make a cardboard mask covers the next paper-based material to try.
Painting and sealing a mask
The paint you choose should match the surface beneath it. Papier-mache takes acrylic, cardstock takes tempera or poster paint, and coloured foam can often skip paint altogether. Our dedicated guide on how to paint a mask goes deeper into technique, while this section sets out the choices.
Matching paint to surface
- Papier-mache: acrylic paint. The tutorial recommends acrylics for rich colours and quick drying time, which shortens the wait between coats on a surface that has already needed a day or two to dry.
- Cardstock: poster paint, tempera, crayons or markers. These are the colouring options named in the children’s craft guide, and they keep clean-up simple for young crafters.
- Foam: the coloured sheet itself. The foam masquerade method uses a black foam sheet, so the colour comes from the base and the decoration does the work.
Keeping the finish smooth and intact
If you want to know how to paint a mask so the paint does not crack, the supported approach is to keep every layer controlled. The papier-mache tutorial says to apply paint with soft brushes in thin layers to avoid streaks and ensure even coverage. Start only once the mask has dried completely, which the same tutorial notes can take a day or two.
Build colour gradually rather than loading a brush heavily. Thin layers dry quickly with acrylic, so you can build depth without a long wait between coats.
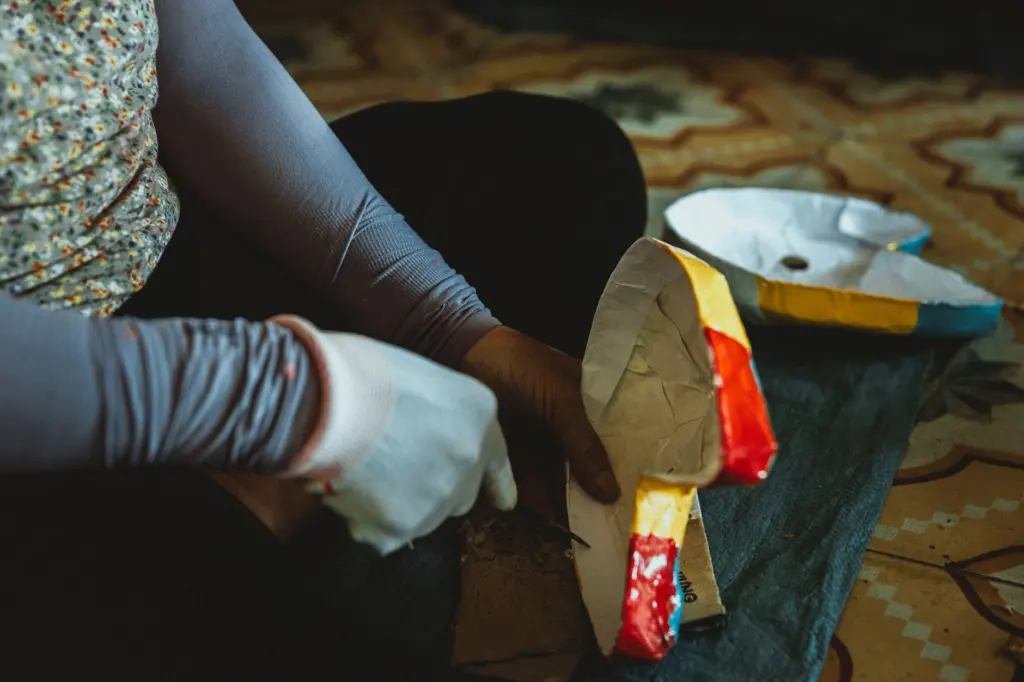
Finish with a clear spray sealant. The tutorial recommends sealing your artwork to protect it and add a professional touch, which matters most on a mask that will be handled or displayed. Seal before you attach heavier embellishments, so the protection covers the painted surface.
Decorating with feathers, glue and glitter
Decoration is where a basic mask becomes a masquerade mask. The base can be paper, foam or papier-mache, but feathers, glitter and metallic accents create the recognisable look. Our companion guide on how to decorate a masquerade mask covers placement and detail work in depth.
Feathers and attachments
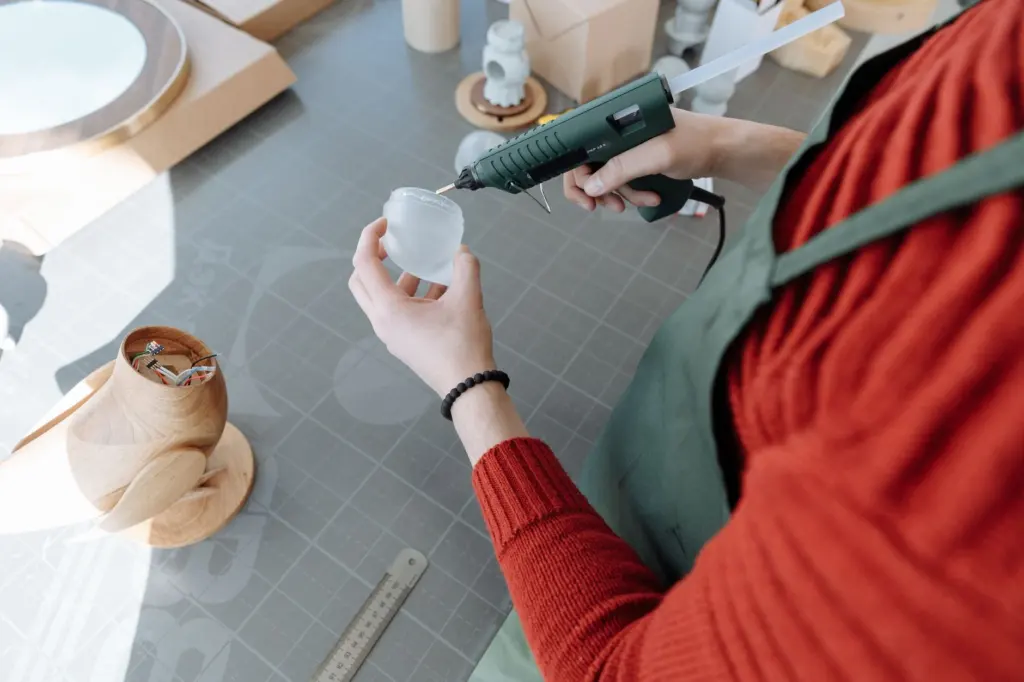
The foam masquerade guide lists coloured crafting feathers and fake flower petals as the decorative materials, and the papier-mache tutorial says embellishments should be affixed securely using a glue gun or craft adhesive. A hot glue gun is the stronger match for feathers and larger pieces, while a white glue suits flat paper decoration.
Choose feather colours to complement the base. A black foam base lets bright feathers stand out, while a painted papier-mache mask can take feathers that echo its painted colours.
Glitter and metallic accents
For a magical touch, the papier-mache tutorial suggests metallic paints or glitter accents. Metallic paint goes on with a brush like any other paint, so it suits the painting stage. Glitter belongs in the decoration stage, applied to glue once the main colours are finished.
Keep accents restrained. A mask covered in every material at once loses the contrast that makes feathers and glitter visible, so pick one main decorative feature and let the others support it.
Themed masks and next projects
Once you can build and finish a basic mask, themes give you a reason to repeat the process. A children’s craft guide describes the masquerade mask as a craft for Halloween, Mardi Gras or any costume party, so the same skills carry across occasions.
Occasion and style guides
- Seasonal costumes. Our guide on how to make a halloween mask applies these methods to a costume, and the guide on how to make a mardi gras mask does the same for a festival style.
- Historic and Venetian styles. If you want to choose a classic shape first, the guide to types of venetian masks helps you pick one, and the guide on how to make a plague doctor mask covers a distinctive character mask.
Different materials and effects
- Fabric. Our guide on how to make a lace mask moves away from paper and foam into stiffened lace.
- Wood. To work in a very different material, see how to how to carve a wooden mask.
- Lighting. If you want a glowing finish, our guide on how to make an led mask covers the lighting side.
Showing off the finished mask
A well-finished mask deserves a place to be seen. For ideas on mounting and presenting yours, read our guide on how to hang masks on wall, which suits masks you plan to keep as decoration.
Frequently asked questions
Can I buy a blank mask instead of building one?
Yes. An unpainted retail blank is described as made from lightweight resin and paper mache with silk ribbon ties, sized as one size fits most adults, and is listed at $19.00. A blank lets you skip construction and go straight to painting and decorating.
How do I keep a masquerade mask on my face?
For a foam mask, the craft guide pokes holes at the sides and threads elastic through them. A retail blank instead uses silk ribbon ties, so choose elastic or ribbon according to the base you are working with.
How do I apply glitter without making a mess of the glue?
Glitter goes onto wet glue and is left in place until the glue dries. The foam masquerade guide stresses not touching it while it dries, which keeps the glitter even and avoids smearing.