How to make a halloween mask you can actually wear: choose a base (paper mask, craft foam, milk jug or egg carton), measure and cut eye holes, add elastic, and let paint dry completely before wearing.
These options are not ranked. Pick by the materials you already have and by how the mask must be worn. For a more elaborate eye-mask style, the diy masquerade mask projects are a natural next step. For design inspiration, browse these decorative mask ideas. A similar festival build is covered in how to make a mardi gras mask.
Choosing a base and planning the fit
A wearable costume mask starts with a few plain questions, not with paint. Distortions Unlimited’s mask-making guide frames the planning stage this way: does the mask need to fit your head, move, have eye cutouts, and allow breathing and hearing? Answer those before you choose a base, because they decide how much of the face and ears the design can cover.
At its simplest, Romper’s homemade mask roundup reduces any build to a material you can shape, eye holes, and a way to secure the mask. CBS Baltimore notes that masks made from everyday items can come together in less than a day, so a mask is a realistic project even close to the event.
- Fit and movement: decide whether the mask sits on the face with a strap or has to turn and tilt with your head, because that affects the way you secure it.
- Vision and hearing: plan the eye cutouts and any ear coverage together, so the finished design does not block what you need to see and hear.
- Breathing: keep the mouth and nose area workable for the whole time you plan to wear it.
- Everyday materials: a base from items you already own keeps the project quick and low-stakes.
Mask options to build at home
Each option below suits a different starting point. Read the one that matches the materials on your table, then compare them side by side in the table that follows.
Painted paper mask
This suits anyone who wants a decorated mask without cutting or shaping a base. The Sweet Red Poppy tutorial uses a ready-made paper mask, acrylic paint, glitter paint and a brush. The work is in the layers of paint, so it rewards patience more than craft skill. Its limit is that the shape is whatever the blank gives you. Choose this when the design is the point, not the silhouette.

Craft foam mask
Craft foam suits makers who want a custom outline, such as a superhero shape. CBS Baltimore’s guide lists craft foam, scissors, a hole punch and elastic thread, with an optional printable template. You trace the template onto the foam or freehand a design, then cut it out with eye holes. A template is the safer choice if you have not drawn a mask before. Freehand lets you shape the mask to your own face, but it takes more care at the eye holes.
Milk jug mask
A milk jug mask suits a household that wants to reuse packaging and is happy to finish it with paint. The same CBS Baltimore guide has you cut the eye holes first, then decorate with acrylic paint to match the costume. After the paint dries, you seal it with decoupage glue. The sealing step is what makes this option more durable than bare paint, so do not skip it if the mask will be handled a lot.
Egg carton nose mask
An egg carton works well for a partial mask, such as a nose piece, rather than a full face covering. CBS Baltimore’s list is a clean, empty egg carton, scissors, acrylic paint, embellishments, a hot glue gun and elastic thread. This suits younger makers or quick party costumes where the detail comes from added decoration. A partial mask also leaves the mouth area open, which helps with the breathing and hearing questions above.
Comparing the options
| Option | Materials named | Key steps | Planning use |
|---|---|---|---|
| Painted paper mask | Paper mask base, acrylic paint, glitter paint, brush | Base coat first; 20 minutes before the glitter layer; dry completely before wearing | Best when you want a decorated finish without shaping a base |
| Craft foam mask | Craft foam, scissors, hole punch, elastic thread, optional printable template | Trace a template or freehand; cut out with eye holes | Best when you want a custom outline and a ready strap |
| Milk jug mask | Milk jug, acrylic paint, decoupage glue | Cut eye holes; paint to match the costume; seal after the paint dries | Best for reusing packaging with a sealed, painted finish |
| Egg carton nose mask | Clean empty egg carton, scissors, acrylic paint, embellishments, hot glue gun, elastic thread | Cut, paint, embellish and add elastic | Best for a partial, quick, decoration-led mask |
The paper-mask row draws on the Sweet Red Poppy tutorial, and the foam, milk jug and egg carton rows draw on CBS Baltimore’s DIY mask guide.
Painting, drying and sealing
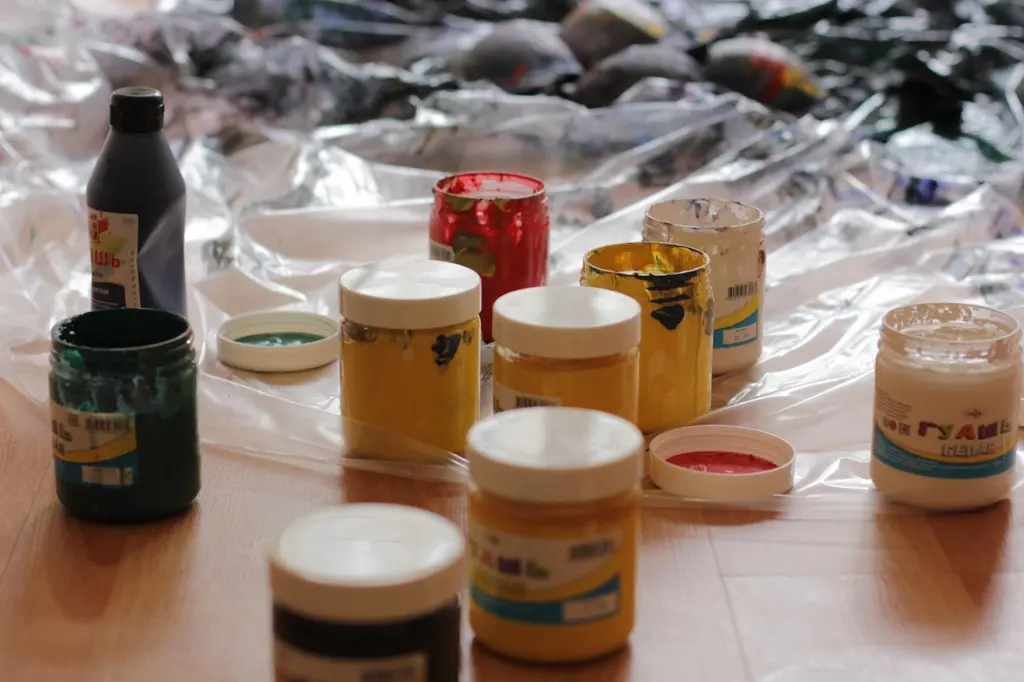
Paint is where most homemade masks are won or lost, and the main discipline is waiting. In the Sweet Red Poppy tutorial, you begin with a base coat of blue paint, then allow the mask 20 minutes to dry before applying the glitter paint layer. The tutorial also says to let the mask dry completely before wearing it. Treat the 20 minutes as the gap between those two layers, not as the total drying time for the finished mask.
Apply glitter or effect paint only over a dry base, and keep sealant for painted surfaces that will take handling. The milk jug method seals with decoupage glue once the paint has dried.
Making the mask stay on and stay comfortable
Elastic is the most common answer to how to make a mask stay on. For the craft foam mask, CBS Baltimore says to cut the elastic a bit shorter than the distance from temple to temple. That shorter length keeps the strap under tension so the mask does not slide, so measure your own head instead of guessing. For a felt mask, Romper describes a bit of sewn-on elastic securing the mask in place. Choose sewn elastic when the base is fabric, and elastic thread through punched holes when the base is foam.
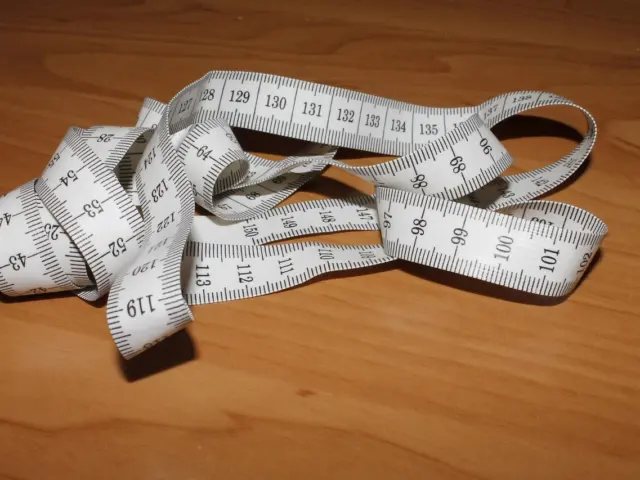
Eye holes affect both comfort and fit. Romper warns to measure appropriately for eye holes, or you may end up with only one peephole. Mark the positions on the mask while holding it to your face, and cut after checking both. A mask that forces you to tilt your head to see will feel heavy and tiring long before the event ends.
Themes and the Halloween background
Halloween traces its roots to Celtic pagan traditions, according to Romper. It began as Samhain, a harvest festival marking the start of winter, and masks were worn for the festival. That history is a reminder that a mask is the centrepiece of the costume, so it can reasonably set the theme. The milk jug method is explicit about this: decorate the mask with acrylic paint to match your costume.
A skull is a reliable theme because a pale base and dark detail read clearly from a distance, and it can be painted onto a paper or foam base. For more directions to try, see these decorative mask ideas.

Frequently asked questions
How long does a homemade Halloween mask take?
Masks made from everyday items can come together in less than a day, according to CBS Baltimore. Plan the build around the paint and glue steps for your chosen option.
Can I make a latex Halloween mask at home?
Distortions Unlimited, which reports over 40 years of making latex masks and props, publishes a step-by-step guide. It begins with choosing a design, such as a half mask or a quarter mask, then gathering materials and setting up a workspace before building the armature. Latex is more involved than paper or foam, so it suits makers who already have a few simple masks behind them.
What if my mask is too large to wear comfortably?
Romper suggests adding a handle to a large mask, otherwise you will have to hold it up by your head all evening. A handle is a sensible fix when the design is bigger than a strap can reasonably support.