| Symptom | First action | Planning use |
|---|---|---|
| Cardboard fights the scissors | Swap to medium weight card, such as a delivery box | Choose material before drawing anything |
| Mask will not hold its shape | Use thicker card than a thin cereal-packet sheet | Decide how sturdy the finished mask must be |
| Eye holes are ragged or hard to start | Mark the placement, then cut with a box cutter (adult task) | Reserve this step for the most capable cutter |
| Mask curls after painting | Press briefly with a steam iron between newspaper | Allow time at the end for flattening |
| Added strips or layers come loose | Hot glue them neatly onto the back | Plan decoration as a separate gluing stage |
Figures and tips in the table draw on the Artful Parent cardboard mask tutorial and the Kool Kids Crafts mask guide.
To learn how to make a cardboard mask, cut a half-face stencil, trace it onto medium weight card, cut out the eyes, paint with acrylics and add elastic. A simple version takes about an hour, plus drying time.
This guide suits a first build or a classroom session. If you want a more ornate result afterwards, the diy masquerade mask ideas build on the same skills.
Materials and cardboard choice
A diy cardboard mask starts with free or cheap material. Artful Parent calls the project cheap, easy and effective, and a good way to use up leftover cardboard boxes. The Art of Education also describes cardboard as art teachers’ favorite free material, so there is rarely a reason to buy sheets.
Pick the right weight
Thickness matters more than any other material decision. Artful Parent used a medium weight cardboard of the kind you would typically get from a delivery box, and explains the trade-off plainly: too thick and it is too difficult to cut, too thin and it will not hold up. No millimetre figure is given, so judge by feel. If you can cut it with scissors without a struggle and it stands up without flopping, it is right.

Kool Kids Crafts takes a lighter approach and suggests card from a cereal packet or other spare card lying around. That works for a quick, lightweight mask for a show. For anything handled roughly, choose the sturdier box card.
Tools and supplies
- Cutting tools: scissors for the outline and a box cutter for the eye holes. Artful Parent lists the box cutter as a teacher’s tool, so treat it as an adult job.
- Paint: bright acrylic paint, with brushes, water containers and palettes.
- Adhesive: a hot glue gun, which the Art of Education lists among common cardboard tools for the art room.
- Fitting: thick elastic for the headband.
- Pattern materials: paper, a pencil, tape and a black felt tip pen for the stencil.
With the supplies gathered, the first job is shaping the outline.
Cutting the mask shape
Cutting starts with a stencil so both sides of the face match. Ultimate Paper Mache describes the first step of a larger mask as cutting cardboard into the rough shape of a head. For a flat mask, the Kool Kids Crafts method is simpler and keeps the shape symmetrical.
- Fold the paper and draw half a face against the fold.
- Cut it out and open it into a full stencil.
- Tape the stencil to the cardboard.
- Draw around it with a black felt tip pen.
- Cut along the line to free the mask.
Taping before tracing stops the stencil sliding, which is the usual cause of a lopsided mask.
Eye holes
Hold the cut-out against the face, or have the child draw where the eyes sit. Artful Parent has the child draw the placement and the teacher then cuts the eyes out with a box cutter. If the first attempt is difficult to start, the card is probably too thick, so return to the material choice above rather than forcing the blade.
Shaping the curve
A cardboard mask sits better with a gentle curve than flat against the face. Kool Kids Crafts notes that a mask may curl after painting, yet you still want it to curve a little round your face. The goal is a slight curve, not a flat board and not a tight roll.
If the mask curls too much
Wet paint is the usual cause. Kool Kids Crafts suggests asking someone to give the mask a quick press with a steam iron between newspaper. This is an adult step, and the newspaper keeps the paint away from the iron. Press briefly, then let the card settle into its mild curve.
If the mask stays too flat
Let the card dry fully, then hold it against the face and check the fit before adding elastic. A mask that rests lightly across the cheeks and brow is closer to the goal than one that sits stiffly away from the face. Adding glued strips on the back, covered below, also stiffens the card, so do the final fit check after they are on.
Painting cardboard
To paint cardboard, cover the whole mask with acrylic paint and leave it to dry, as Kool Kids Crafts describes. Artful Parent recommends bright acrylic paints, with brushes, water containers and palettes at hand.
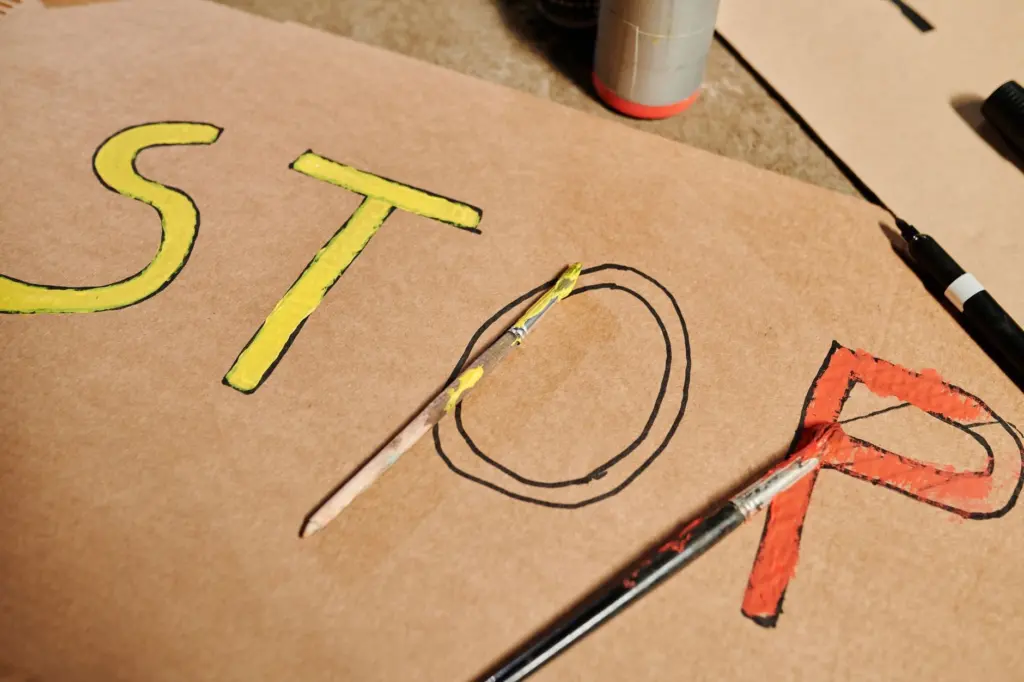
- Paint before assembly when possible: Artful Parent painted and pre-cut a lot of its cardboard to save time for younger children. Pre-painted card means the activity can focus on decorating.
- Cover everything: work to the edges so no bare brown card shows.
- Dry flat and check: if curling appears, use the steam iron fix described earlier.
Once the base coat is dry, add details and any raised decoration.

Gluing and finishing
Hot glue is the quickest way to add extra layers to cardboard. Artful Parent’s starburst design hot glues each cardboard strip neatly onto the back of the mask so they radiate past the edges. Neat application matters because glue that squeezes out shows on the front, so use small amounts.
Fit the mask with thick elastic. Artful Parent simply knotted it through the eye holes for ease, which avoids extra punching or gluing. Check that the knot sits securely and the band is comfortable before use.
Who can do what
Artful Parent considers the activity suitable for most ages over 4, with younger children needing help. In practice, adults take the box cutter and hot glue stages, and children draw, paint and decorate. If you plan to display the finished piece, the how to hang masks on wall guide covers mounting. For a lighter project with younger makers, try a paper plate mask instead.
Frequently asked questions
| Question | Answer |
|---|---|
| How do you make a mask from cardboard? | Make a half-face paper stencil, tape it to the card, trace it and cut it out. Cut the eye holes, paint the mask, then add elastic through the eye holes. |
| How do you curve cardboard for a mask? | Aim for a slight curve round the face. If painting makes the card curl too much, give it a quick press with a steam iron between newspaper. |
| How do you paint cardboard? | Use bright acrylic paint, cover the whole mask and leave it to dry. Painting the card before cutting can save time with younger children. |
| How long does a cardboard mask take? | A simple one can be made in an hour or so, according to Kool Kids Crafts, plus drying time for the paint. |
| What kind of cardboard works best? | Medium weight card from a delivery box. Thicker card is hard to cut and thinner card will not hold its shape. |