Learning how to make a mask with paper mache starts by blowing up a balloon, cover it with paste-soaked newspaper strips, let each layer dry fully, then sand, paint and varnish the shell.
Plan on several days, because every layer has to dry before the next goes on. The result is a sturdy base for a diy masquerade mask or any other decorative design.
What you need before you start
A first papier-mache mask needs only a few materials, and most of them are household items. Gather everything first, because the paste is best used while it is fresh.
- Balloon form: a balloon works as the mold, and its inflated size becomes the size of the mask.
- Newspaper strips: plain newspaper torn by hand. You need enough for a first layer plus further layers.
- Paste: flour and water, or wallpaper glue if you want a stronger shell. Step 3 compares them.
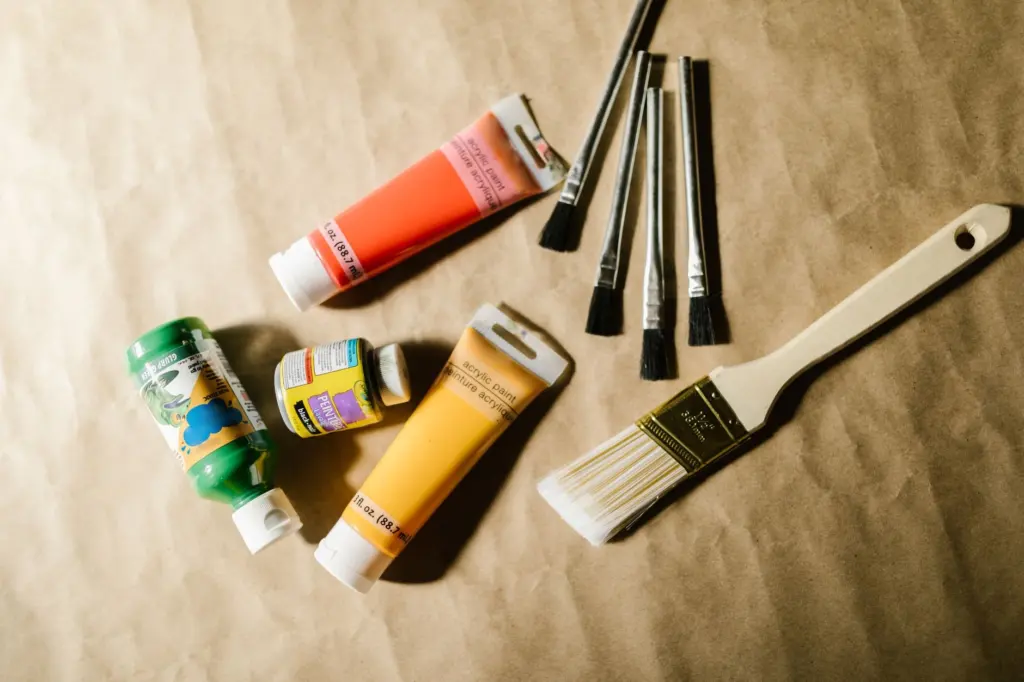
- Finishing supplies: fine sandpaper, gesso, acrylic paint, brushes and a gloss varnish.
- A needle: for popping the balloon once the shell is dry.
- A place to dry: a spot where the mask can sit undisturbed for hours or days between layers.
Making the mask, step by step
Step 1: Inflate the balloon form
Blow up the balloon to the size you want the finished mask to be. According to a craft project guide for kids’ balloon masks, the size of the balloon is the size of your mask, so avoid overinflating it. Stand the balloon in a bowl so it stays steady while you work.
Step 2: Tear the newspaper into strips
Tear the newspaper rather than cutting it, because torn edges blend into each other and leave a smoother surface. Art of Education’s classroom guide points out that holding the paper one way gives easy, natural strips, so tear with the grain. A craft supplier’s paper mache guide suggests strips about 2.5 cm wide and 10-15 cm long. Strips in that range are short enough to curve over the balloon without wrinkling.
Step 3: Mix the paste
Flour paste is the best starting point for a first mask. It is made from flour and water, and it is the paste the classroom guide above uses. The ratios published by different guides differ, so treat them as starting points.
- Classroom ratio: Art of Education recommends starting at 1:1 flour to water and adjusting after mixing it thoroughly.
- Thinner ratio: the craft supplier’s guide mixes 1 part flour with 2 parts water.
- Wallpaper glue: the same supplier describes it as stronger and faster drying than flour paste. It suits you if you want a tougher shell, or if drying time is your main concern. The kids’ balloon mask guide lists wallpaper glue or flour and water as equally workable.
Mix a small batch first and judge the consistency by feel. The paste should be smooth and coat a strip evenly. Add flour to thicken it or water to thin it.
Step 4: Apply the first layer and let it dry
Draw each strip through the paste, then lay it over the balloon, overlapping the edges of neighbouring strips. Smooth each one down as you go. The kids’ mask guide stresses that the paper must be secured on the balloon, or the mask may come apart later.
Stop once the balloon is covered and let the layer dry completely. The supplier’s guide says this can take several hours to overnight, depending on the thickness of the layer and the humidity. Judge by the surface rather than the clock. If it still feels cool or soft, it is not ready.
Step 5: Build up the remaining layers
Add 2-3 additional layers, depending on how sturdy you want the shell. A mask you will wear or handle often deserves the upper end of that range. A purely decorative piece for a wall can stop sooner. Each layer must dry completely before you apply the next, which the supplier’s guide gives as the way to prevent mold growth.
It helps to switch the direction of the strips on each pass, so you can see which areas you have already covered. Because every layer needs its own drying time, this stage sets the pace of the whole project.
Step 6: Pop the balloon, trim and sand
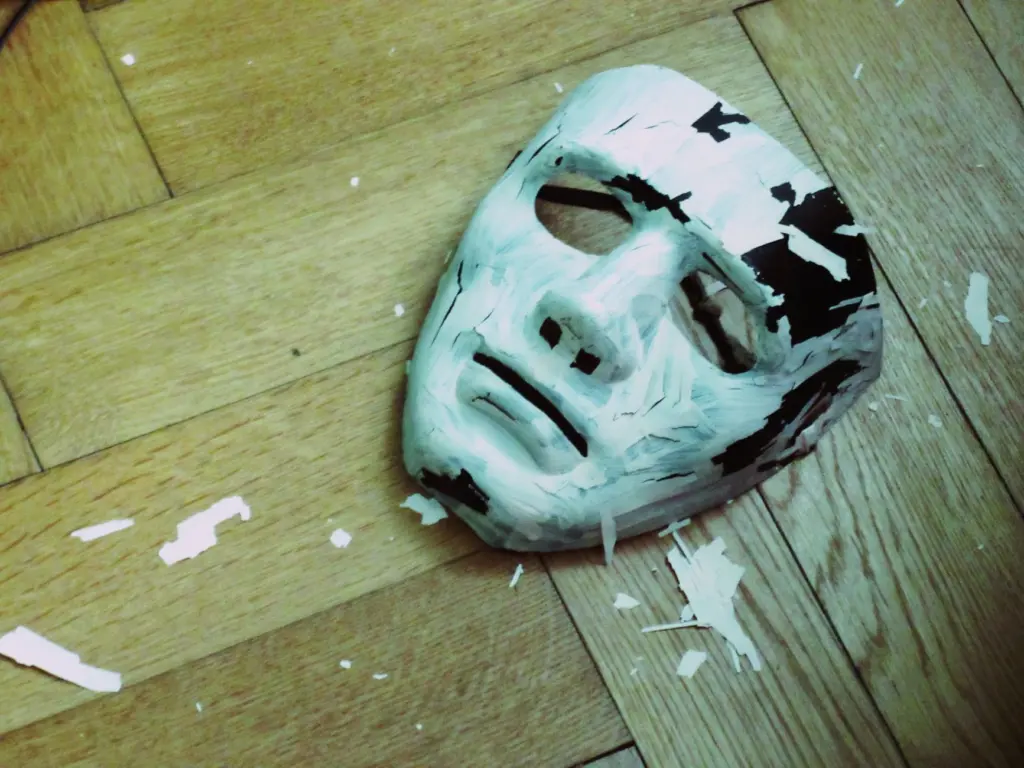
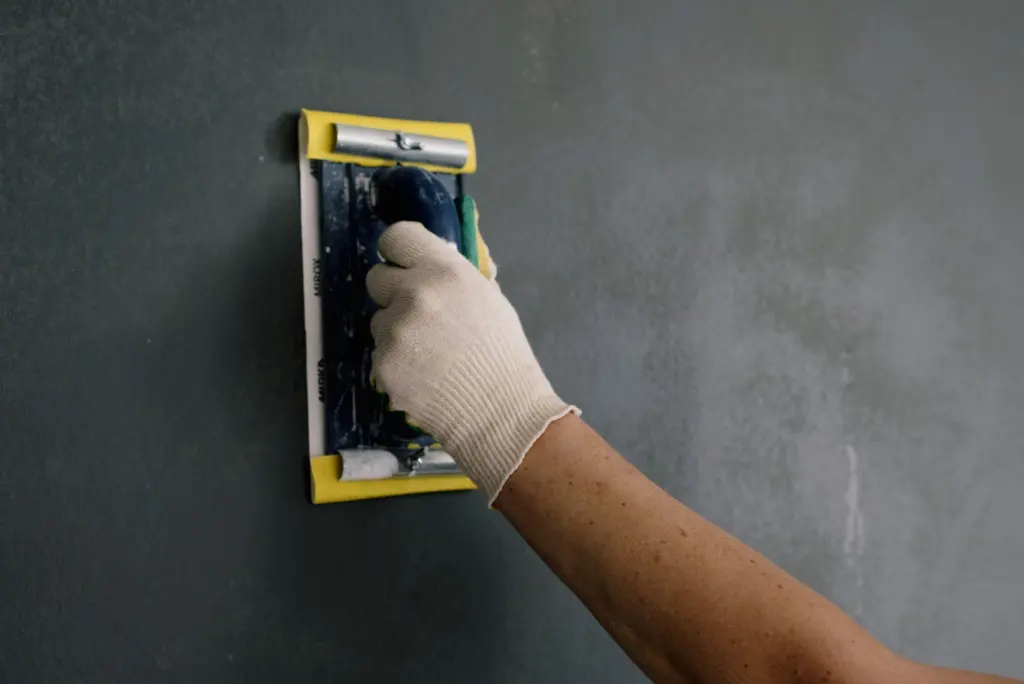
When the shell is fully dry, pop the balloon with a needle. The kids’ mask guide advises popping it away from your face. Trim the shell to the mask shape you want, then smooth the surface with fine sandpaper, as the supplier’s guide recommends once everything is thoroughly dry. Sanding is where rough torn edges and paste ridges disappear, so it is worth doing carefully before any paint goes on.
Step 7: Seal and paint
Seal the sanded shell with gesso before you paint. The Graphics Fairy’s beginner guide highly recommends it as a sealant because it dries very hard. The same guide calls acrylic paint ideal for papier-mache because it is waterproof and comes in many colors, and the supplier’s guide also allows tempera paint. For a first mask, acrylic is the safer choice since it stands up to handling better than a water-soluble finish.
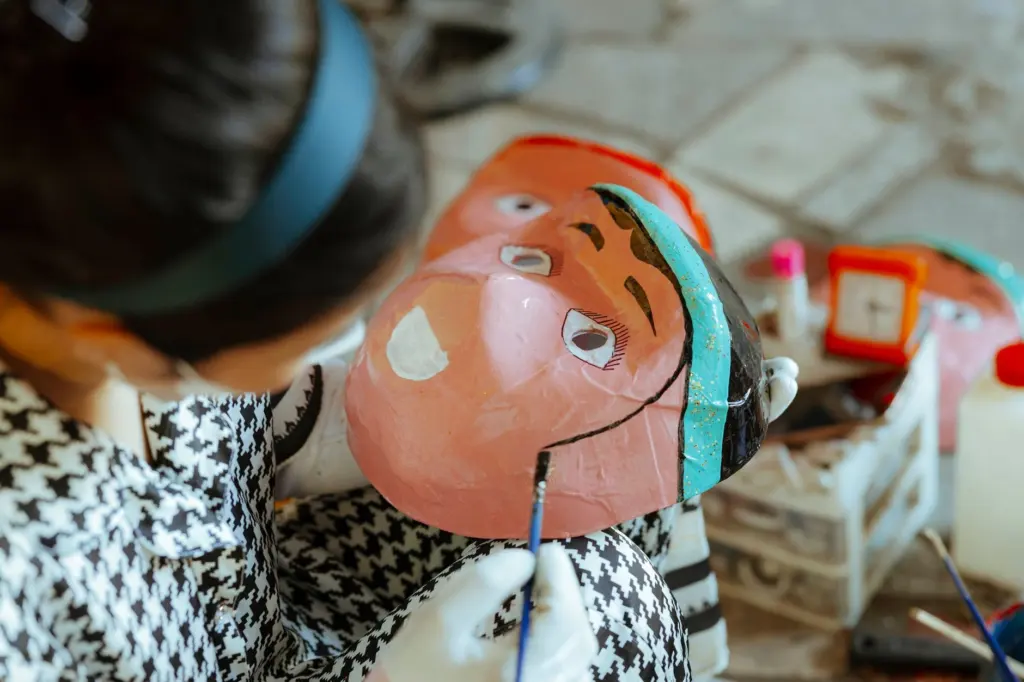
Block in the base color first, then add details with a smaller brush. For colour mixing, patterns and brush technique, see our guide on how to paint a mask.
Step 8: Varnish the finished mask
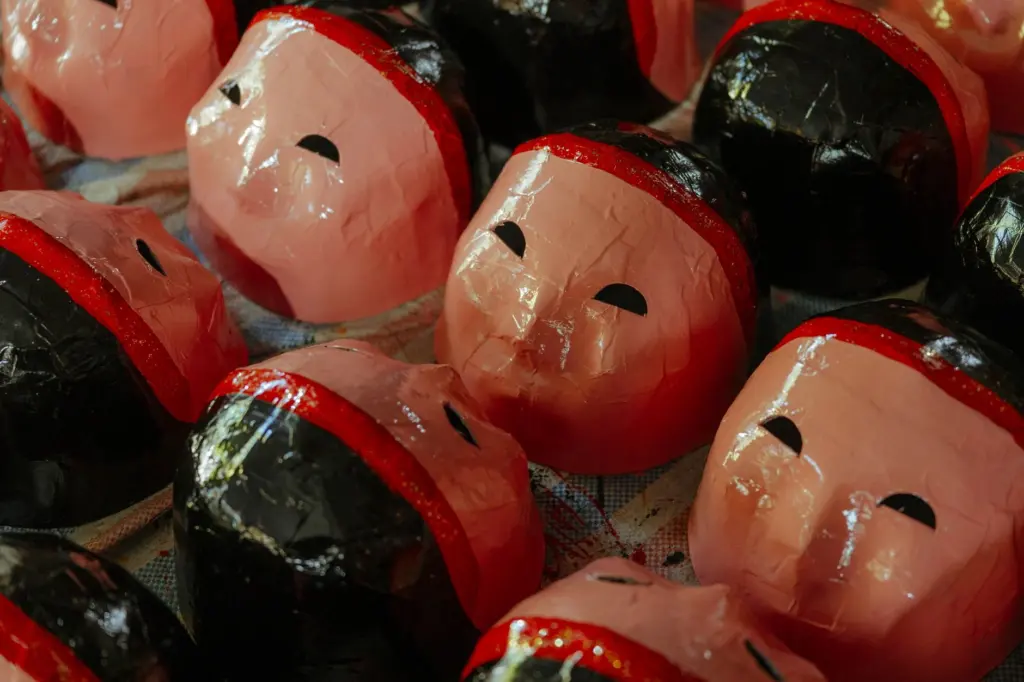
Once the paint is dry, finish with a layer of varnish. The supplier’s guide gives extra protection and shine as the reasons. The Graphics Fairy names the two practical materials for this stage as gloss varnish or gloss Mod Podge. Either one protects the painted surface, so choose by availability and by how glossy you want the result.
Troubleshooting and stopping points
- Early layers will not stick: Art of Education notes that an area may need up to four layers of newspaper before it sticks down. Keep going rather than starting over.
- Drying is slow: The Graphics Fairy says overnight is best for smaller pieces, while thicker pieces can take several days. Humidity slows things further. Salt in the paste is optional, and the same guide says it speeds drying and helps prevent mold. Wallpaper glue also dries faster than flour paste.
- Leftover paste: Art of Education says flour-and-water paste can be remixed and used again for weeks if kept cold overnight.
Do not move to the next stage while the shell is still damp. Painting or varnishing over a damp base is where most first masks go wrong.
Checkpoints at a glance
| Stage | Checkpoint | Planning use |
|---|---|---|
| Paste | Start at 1:1 flour to water, then adjust after mixing | Mix a small batch and thicken or thin it until it coats a strip evenly. |
| First layer | Fully dry, which takes several hours to overnight depending on thickness and humidity | Leave it overnight if you are unsure, then check by touch. |
| Added layers | 2-3 additional layers, each dry before the next | Use fewer for a wall piece and more for a mask you will handle. |
| Sanding | Fine sandpaper once the shell is completely dry | Smooth the surface before gesso and paint. |
| Varnish | One protective layer over dry paint | Seal last, so the color underneath is already finished. |
These figures come from Art of Education’s classroom mask guide and a craft supplier’s paper mache guide.
Once you are confident with the layering, how to make a plague doctor mask is a natural next project built on the same skills.
Frequently asked questions
Can I use PVA glue instead of flour paste?
Yes. The Graphics Fairy advises mixing white PVA school glue at 2 parts glue to 1 part water.
Can I use a paper plate instead of a balloon?
Yes. Art of Education’s classroom project builds masks on a small paper plate, 8 in in diameter per student, which gives a flatter base than a balloon.
How long does the whole project take?
Art of Education says a classroom mask project can easily last up to two weeks. A single mask made at home can be quicker, but the number of layers and your humidity decide the pace.