| Symptom | First action | Planning use |
|---|---|---|
| Not sure which fabric to use | Choose tightly woven fabric such as bed sheets, quilting cotton or linen. | Check the weave before you buy or cut, because fabric choice shapes everything that follows. |
| Not sure how big to cut | Cut two cotton rectangles of 9.5 in x 6.5 in, or 9 x 6 in for an adult size and 11 x 7 in for a large adult. | Pick one pattern’s measurements and keep to them for both pieces. |
| Ear loops are the wrong length | Cut two 7 in pieces of elastic or hair ties, and use 8 in for a large adult. | Match the loop length to the size you cut. |
| No sewing machine | Hand-sew with a needle and thread. | A machine speeds the work up but is not required. |
| Only rubber bands to hand | Do not use rubber bands or Ace Bandages as elastic. | Buy elastic or use hair ties before you start. |
These measurements come from the Washington State Lieutenant Governor’s mask instructions and Newman Regional Health’s mask guide.
To learn how to make a fabric face mask, cut two rectangles of tightly woven cotton, stitch them together, fold in pleats and sew on elastic ear loops. Straight stitching is all you need.
This tutorial builds a pleated mask for a first-time sewer. For wider choices of designs and materials, see our guide on how to make a face mask at home.
Materials and tools
A pleated mask needs very little: two pieces of cotton fabric, elastic for the ear loops, thread and basic sewing tools. Gather everything before you cut so you can work through the steps without stopping.
- Fabric: the Washington instructions call for tightly woven fabric such as bed sheets, quilting cotton or linen. VELCRO’s guide adds that the CDC recommends cotton for fabric face masks, so quilting cotton is a safe starting point for a beginner.
- Elastic: use two lengths of elastic or hair ties, as Washington’s guidance describes. Newman Regional Health specifies rope elastic with a knot tied at each end.
- Tools: you need a needle and thread, scissors, an iron and an ironing board. A sewing machine is optional. VELCRO’s equipment list also names pins, clips, a tape measure or ruler and a fabric pen.
You do not need a sewing machine. Washington’s instructions say you can use a machine or hand-sew with a needle and thread. A machine is quicker over long seams, but hand stitching gives the same result if you keep the stitches small and even.
Common problems at this stage have simple fixes:
- Symptom: you only have rubber bands. Fix: swap them for elastic or hair ties, because Newman Regional Health rules out rubber bands and Ace Bandages.
- Symptom: the fabric is loosely woven or stretchy. Fix: choose a tighter weave such as quilting cotton before you cut anything.
- Symptom: you are worried the fabric will shrink later. Fix: pre-wash it first, as Diary of a Quilter recommends.
Cutting the fabric
Each mask uses two fabric rectangles, and the cut size depends on the pattern you follow. Treat the numbers below as options from different patterns, not as measurements to mix.
- Washington pattern: two cotton rectangles of 9.5 in x 6.5 in, per the state instructions.
- Newman Regional Health pattern: 9 x 6 in for an adult and 11 x 7 in for a large adult, according to the hospital’s guide.
- Diary of a Quilter pattern: 8 in wide x 8.5 in long for a medium adult and 9.5 in x 9 in for a large adult, from a quilting blog. These pieces are squarer, so follow that blog’s construction if you choose them.
For a first mask, the Washington or Newman adult size is the simplest choice. Move to the large adult size only if the standard one feels too small across your face.
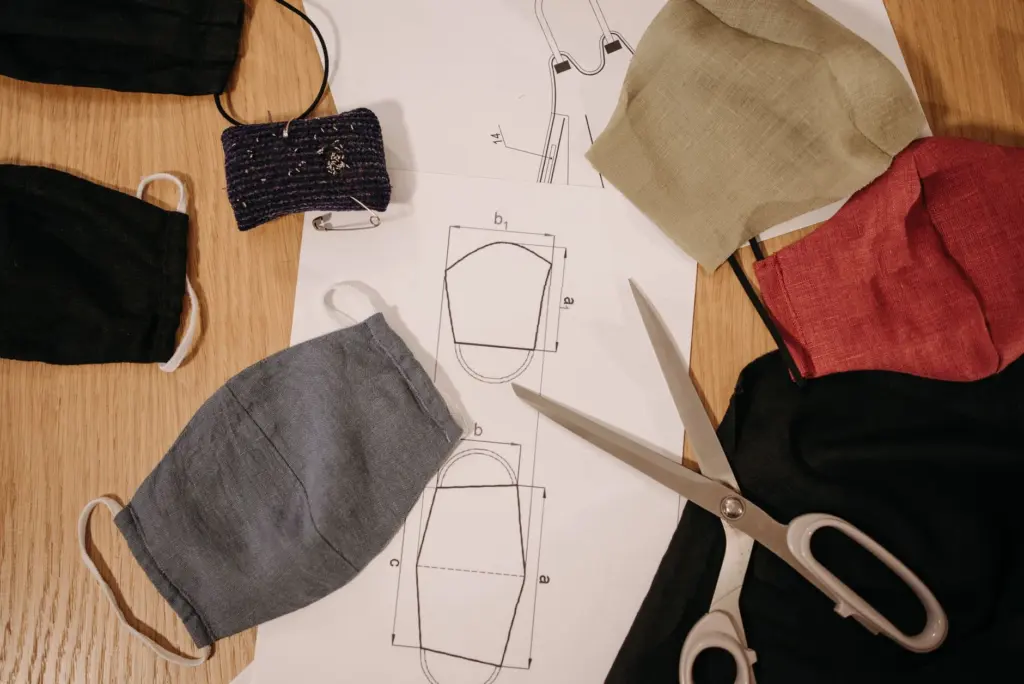
Cut both rectangles to the same size. Drawing the shape on paper first gives you a template, and a ruler or tape measure keeps the edges square.
- Symptom: the two pieces do not line up when stacked. Fix: trim the longer piece to match the shorter one before you sew.
- Symptom: the mask feels too small once finished. Fix: cut the next one in the large adult size from your chosen pattern.
Sewing the body
The body is a single seam worked with a straight stitch. Newman Regional Health’s guide uses a 1/4 in seam allowance, which is wide enough to hold and narrow enough to keep the mask roomy.
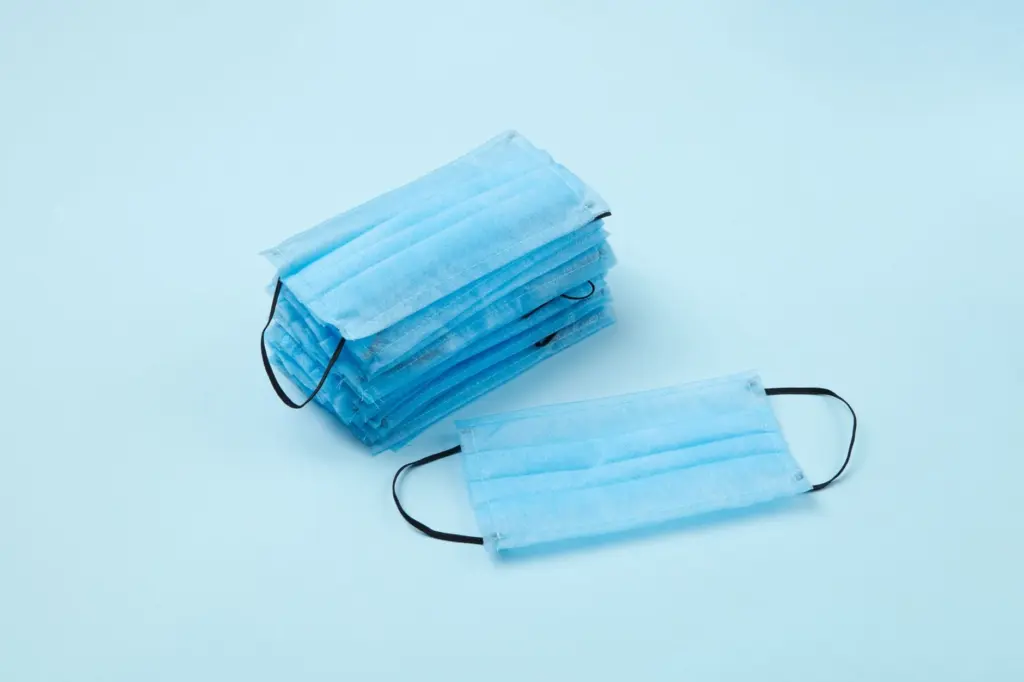
- Iron the fabric so the pieces lie flat.
- Stack the two rectangles and pin them together.
- Sew around the edges with a straight stitch and a 1/4 in seam allowance, leaving about 2 in open in the middle for turning.
- Turn the mask right side out through the opening.
Washington’s version stitches around the perimeter about 1/4 in from the edge, then adds a second seam 1/4 in further in. Either route works. Choose the one that matches the pattern whose cut size you used.
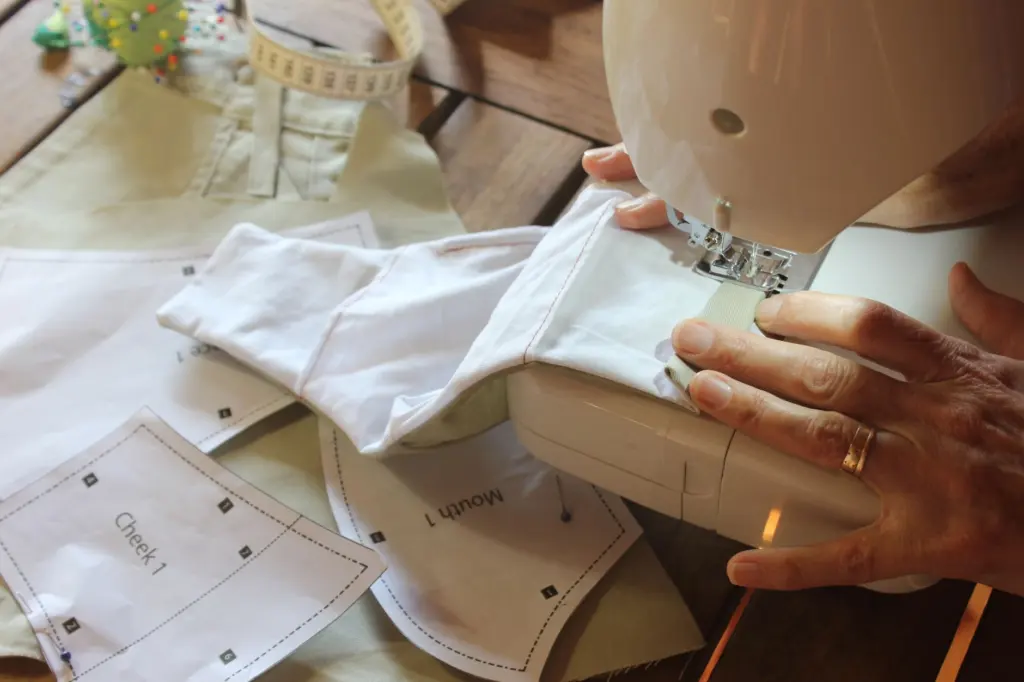
- Symptom: the seam drifts away from the edge. Fix: keep the fabric edge against a consistent guide and sew slowly.
- Symptom: you are hand-sewing and the seam looks loose. Fix: take small, even stitches with your needle and pull the thread snug as you go.
Pleats and ear loops
Pleats give the mask room over the nose and chin, and the elastic holds it in place. Washington’s instructions fold the mask into 2-3 pleats and pin each one. Newman Regional Health pins two 1/2 in pleats per side.
Pin the pleats so they all face the same way before you sew. Even folds make the mask sit flat against the face.
Next, add the ear loops. Cut two 7 in lengths of elastic, or 8 in for a large adult mask. If you use rope elastic, tie a knot in each end. Sew the ends into the mask corners and backstitch a few times to hold the elastic in place.
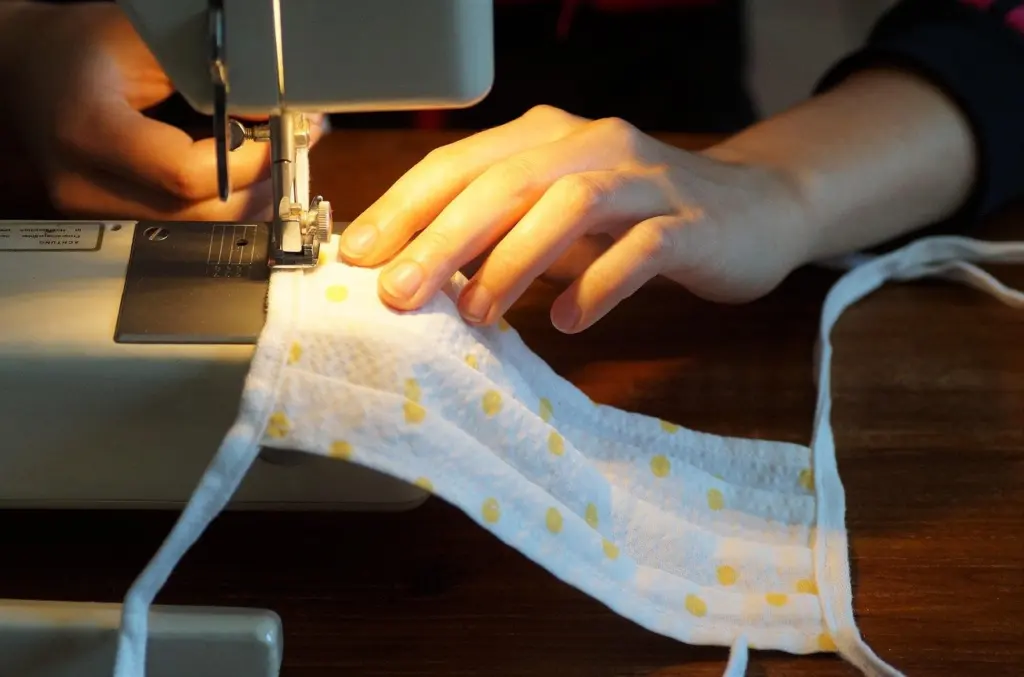
- Symptom: the elastic pulls out of the corner. Fix: go back over the join with a few more backstitches.
- Symptom: the loops are too tight. Fix: use the longer elastic length from the large adult pattern.
- Symptom: pleats shift while you sew. Fix: pin each pleat again and stitch through the pins slowly.
Other ways to make a mask
If you have fabric but no needle or thread, a no sew face mask made from a T-shirt or bandana avoids stitching altogether. If you prefer yarn to fabric, learn how to crochet a face mask instead.
Frequently asked questions
| Question | Answer |
|---|---|
| How much fabric do I need for one mask? | One mask needs two rectangles, such as two 9.5 in x 6.5 in pieces of cotton in Washington’s pattern. Diary of a Quilter says a fat quarter makes about 2 large masks. |
| How long does it take to make a mask? | The sources give no measured time. Diary of a Quilter describes the design as super fast and says you can make a bunch in a short time span. |
| Can I use fabric ties instead of elastic? | Yes. Washington’s instructions offer four pieces of 18 in x 1.5 in fabric, as an alternative to elastic or hair ties. |
| How should I wash a fabric mask? | VELCRO’s guide relays CDC advice to use the warmest appropriate water setting for the cloth the mask is made from. |